
My homemade pack for PCT 2019
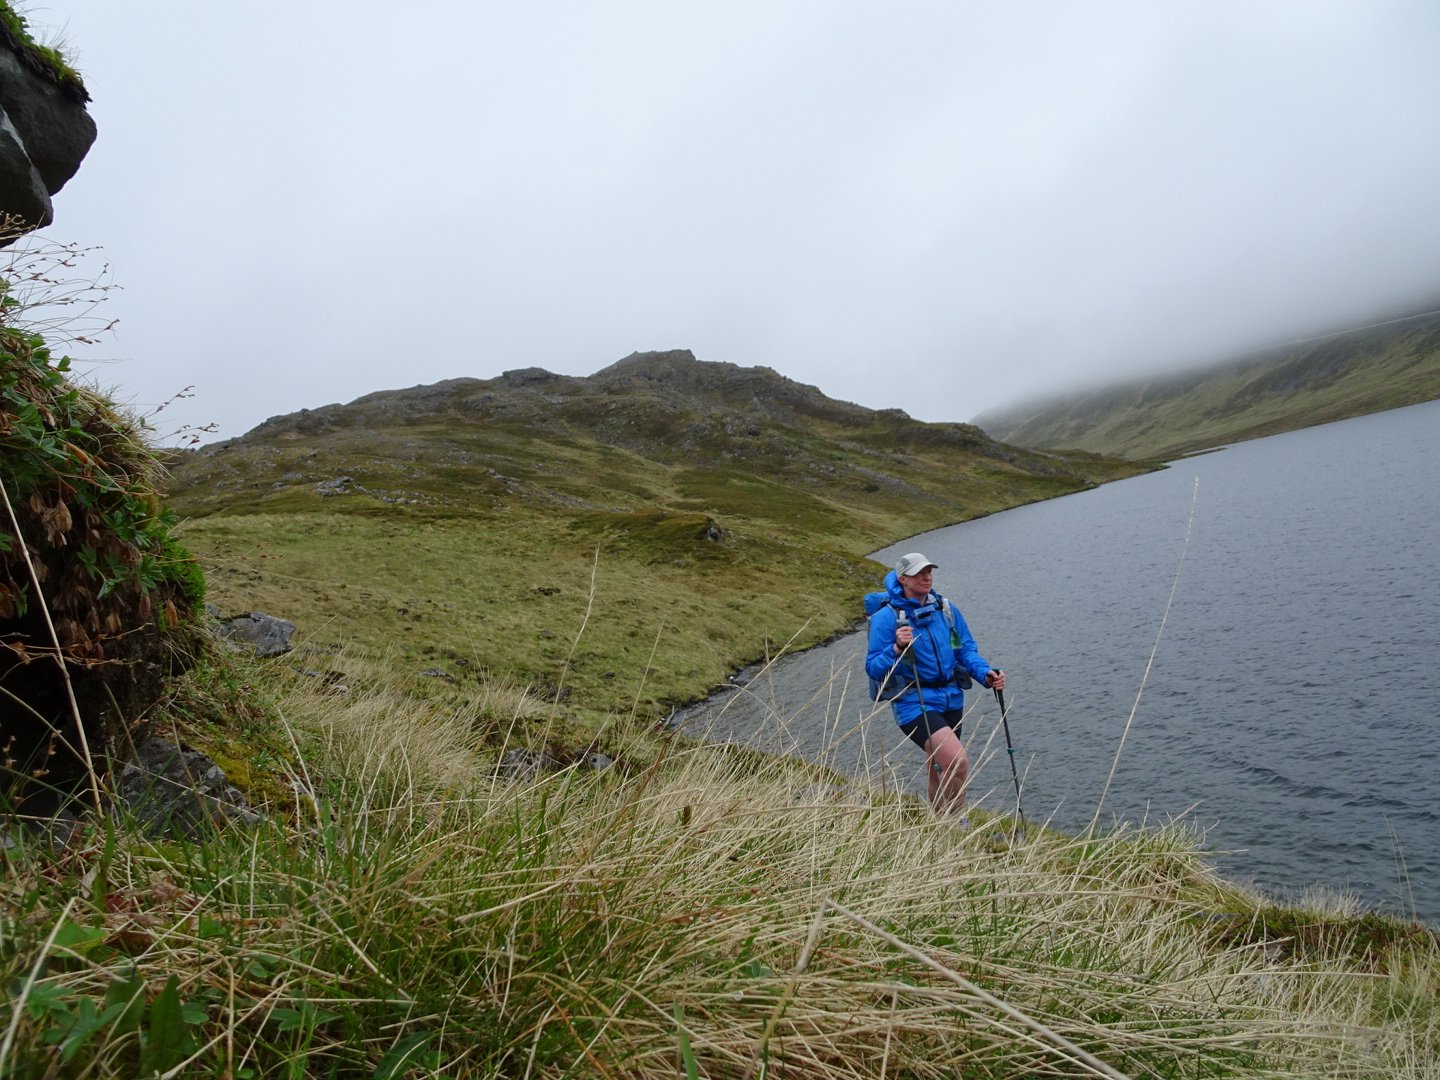
I used a ZPacks Arcblast for my Te Araroa hike and was impressed with how well it stood up to NZ trail conditions. I continued to use this pack for hiking overseas and in NZ but just before my Norway hike I noticed a tiny tear near one of the shoulder straps. It probably would have lasted the 2000km in Norway but I didn’t want to take any chances.
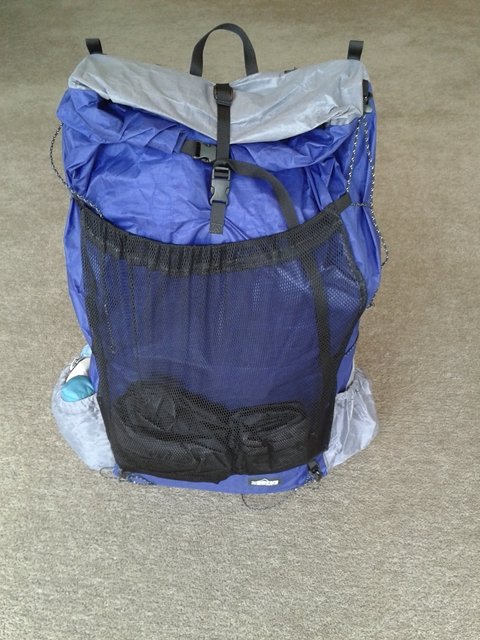
2014 ZPacks Arcblast
I loved most things about this pack but there were a few things I wanted to change, in particular the size. I had ordered the smallest size pack but found it a little too big as I have a very short upper body. As I had plenty of time on my hands I decided to try making my own pack. This way I could have one that fitted properly and had the size and features I wanted.
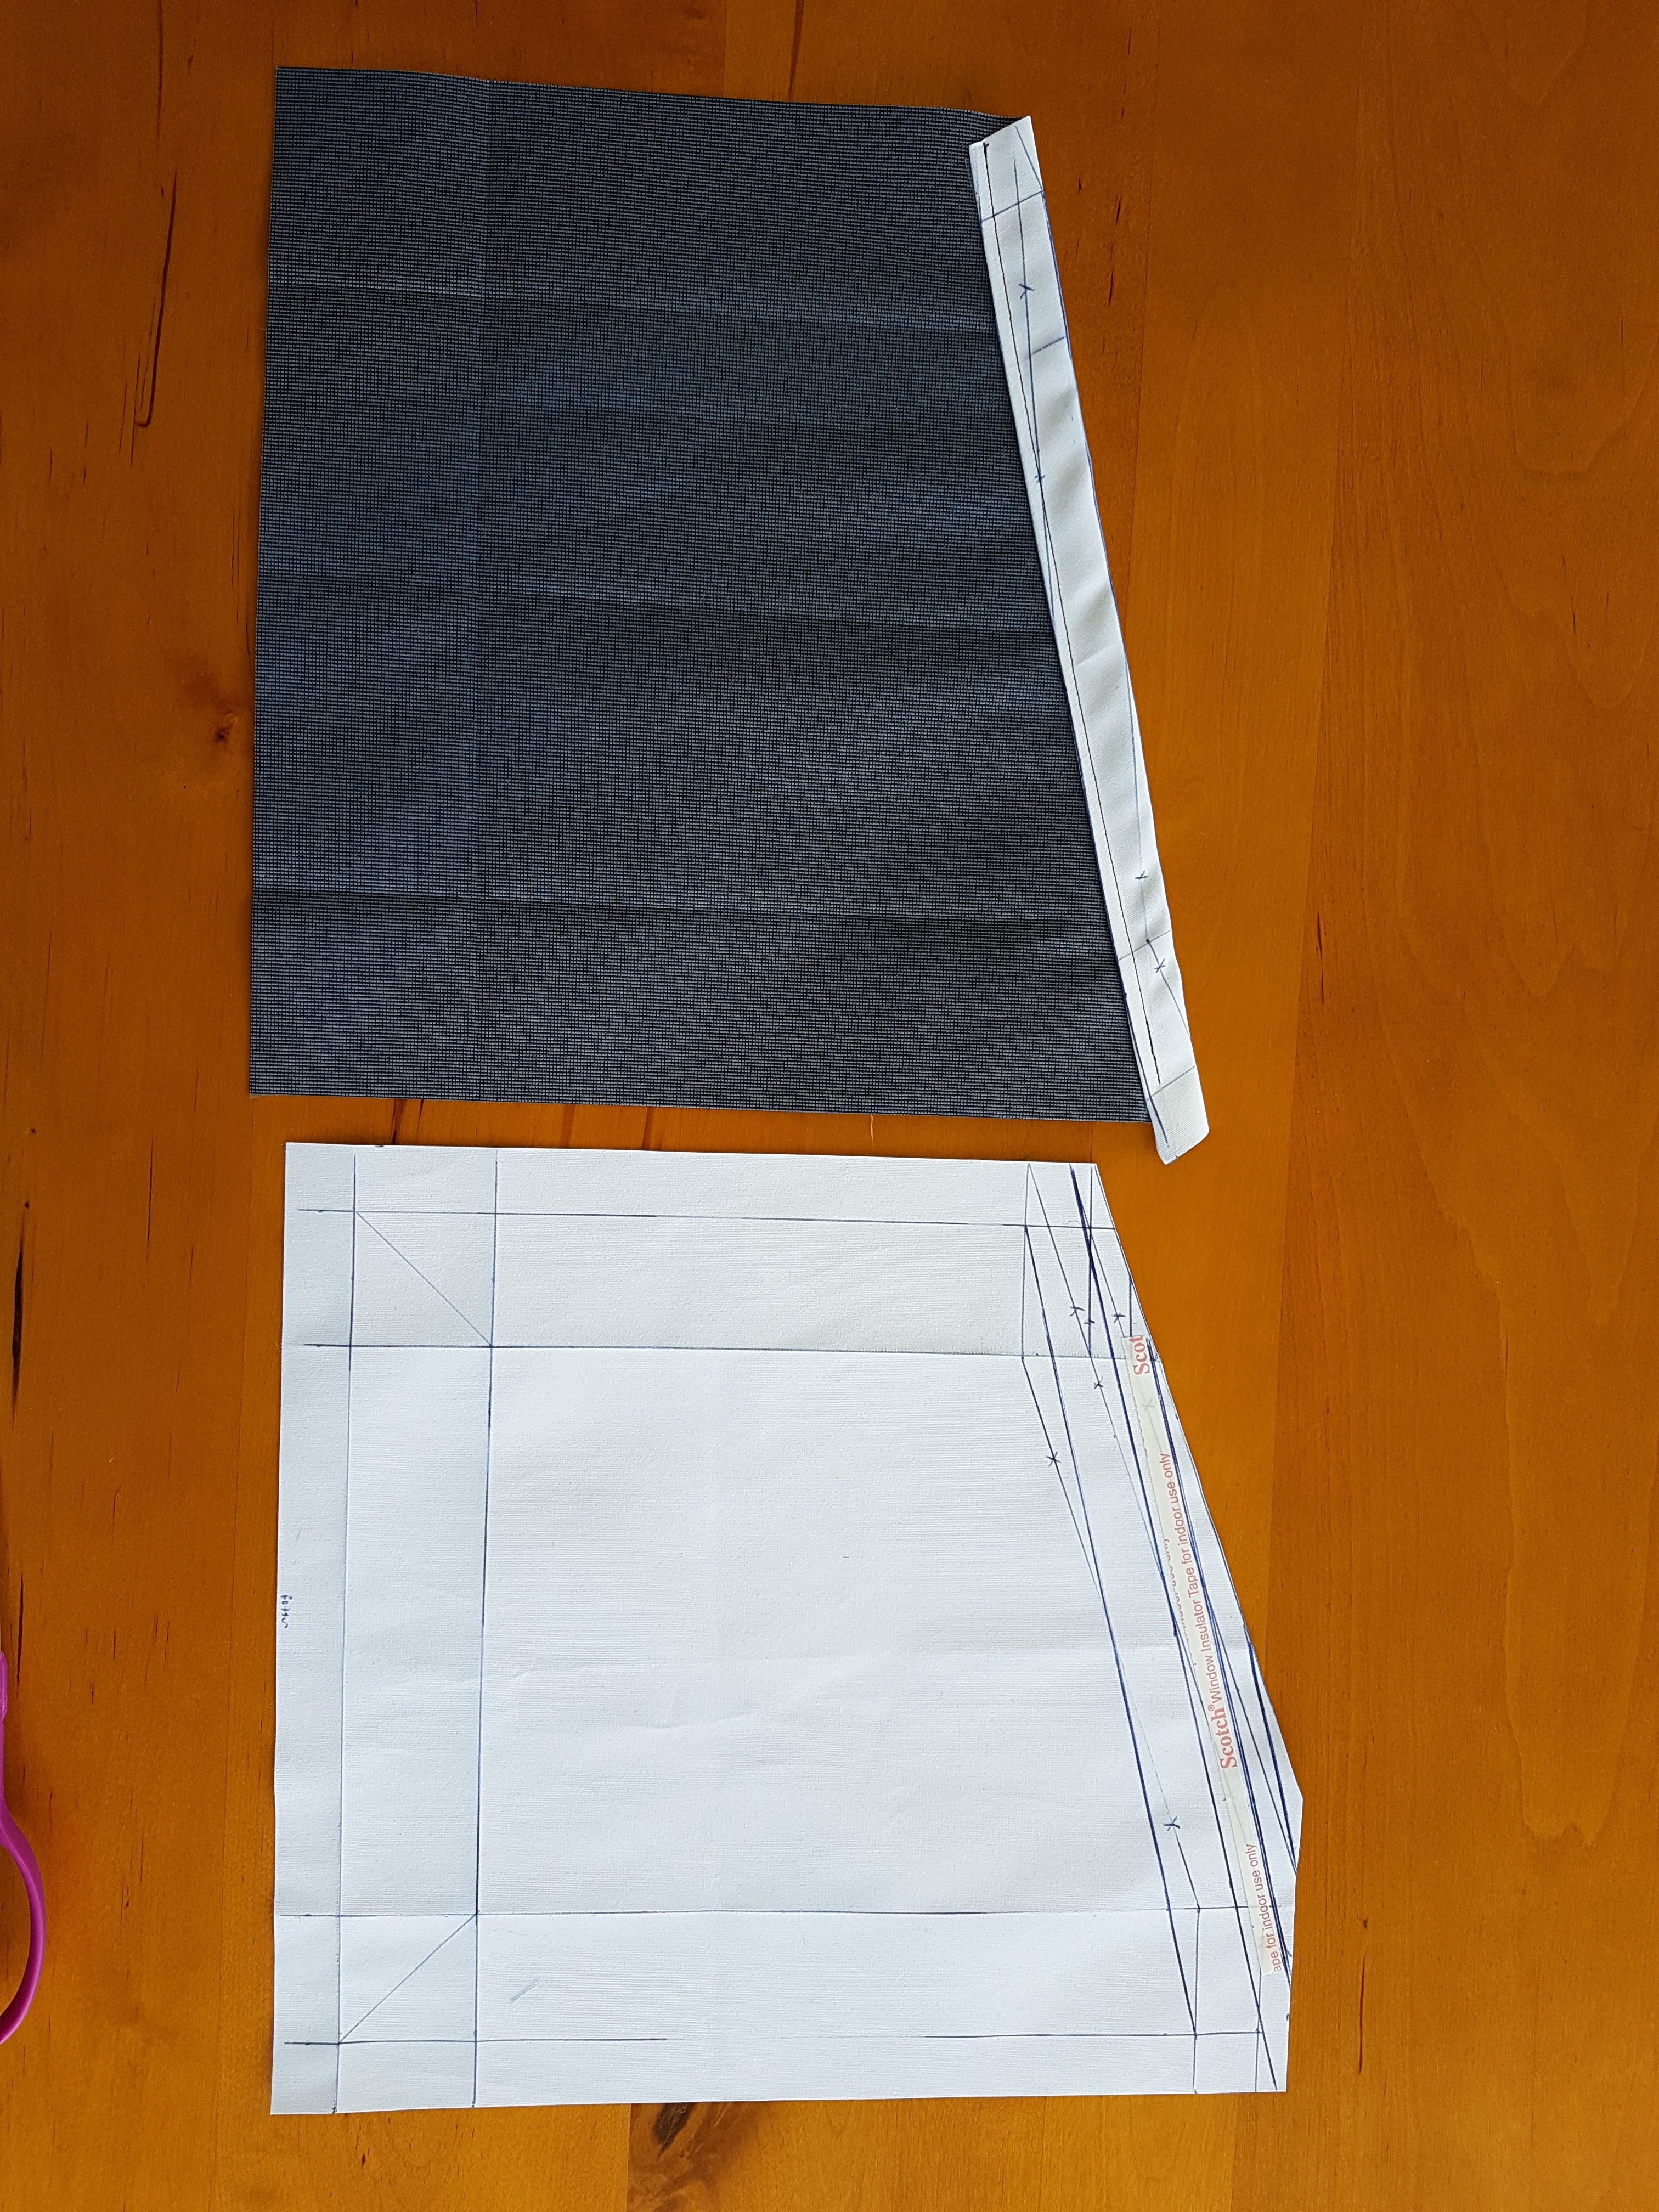
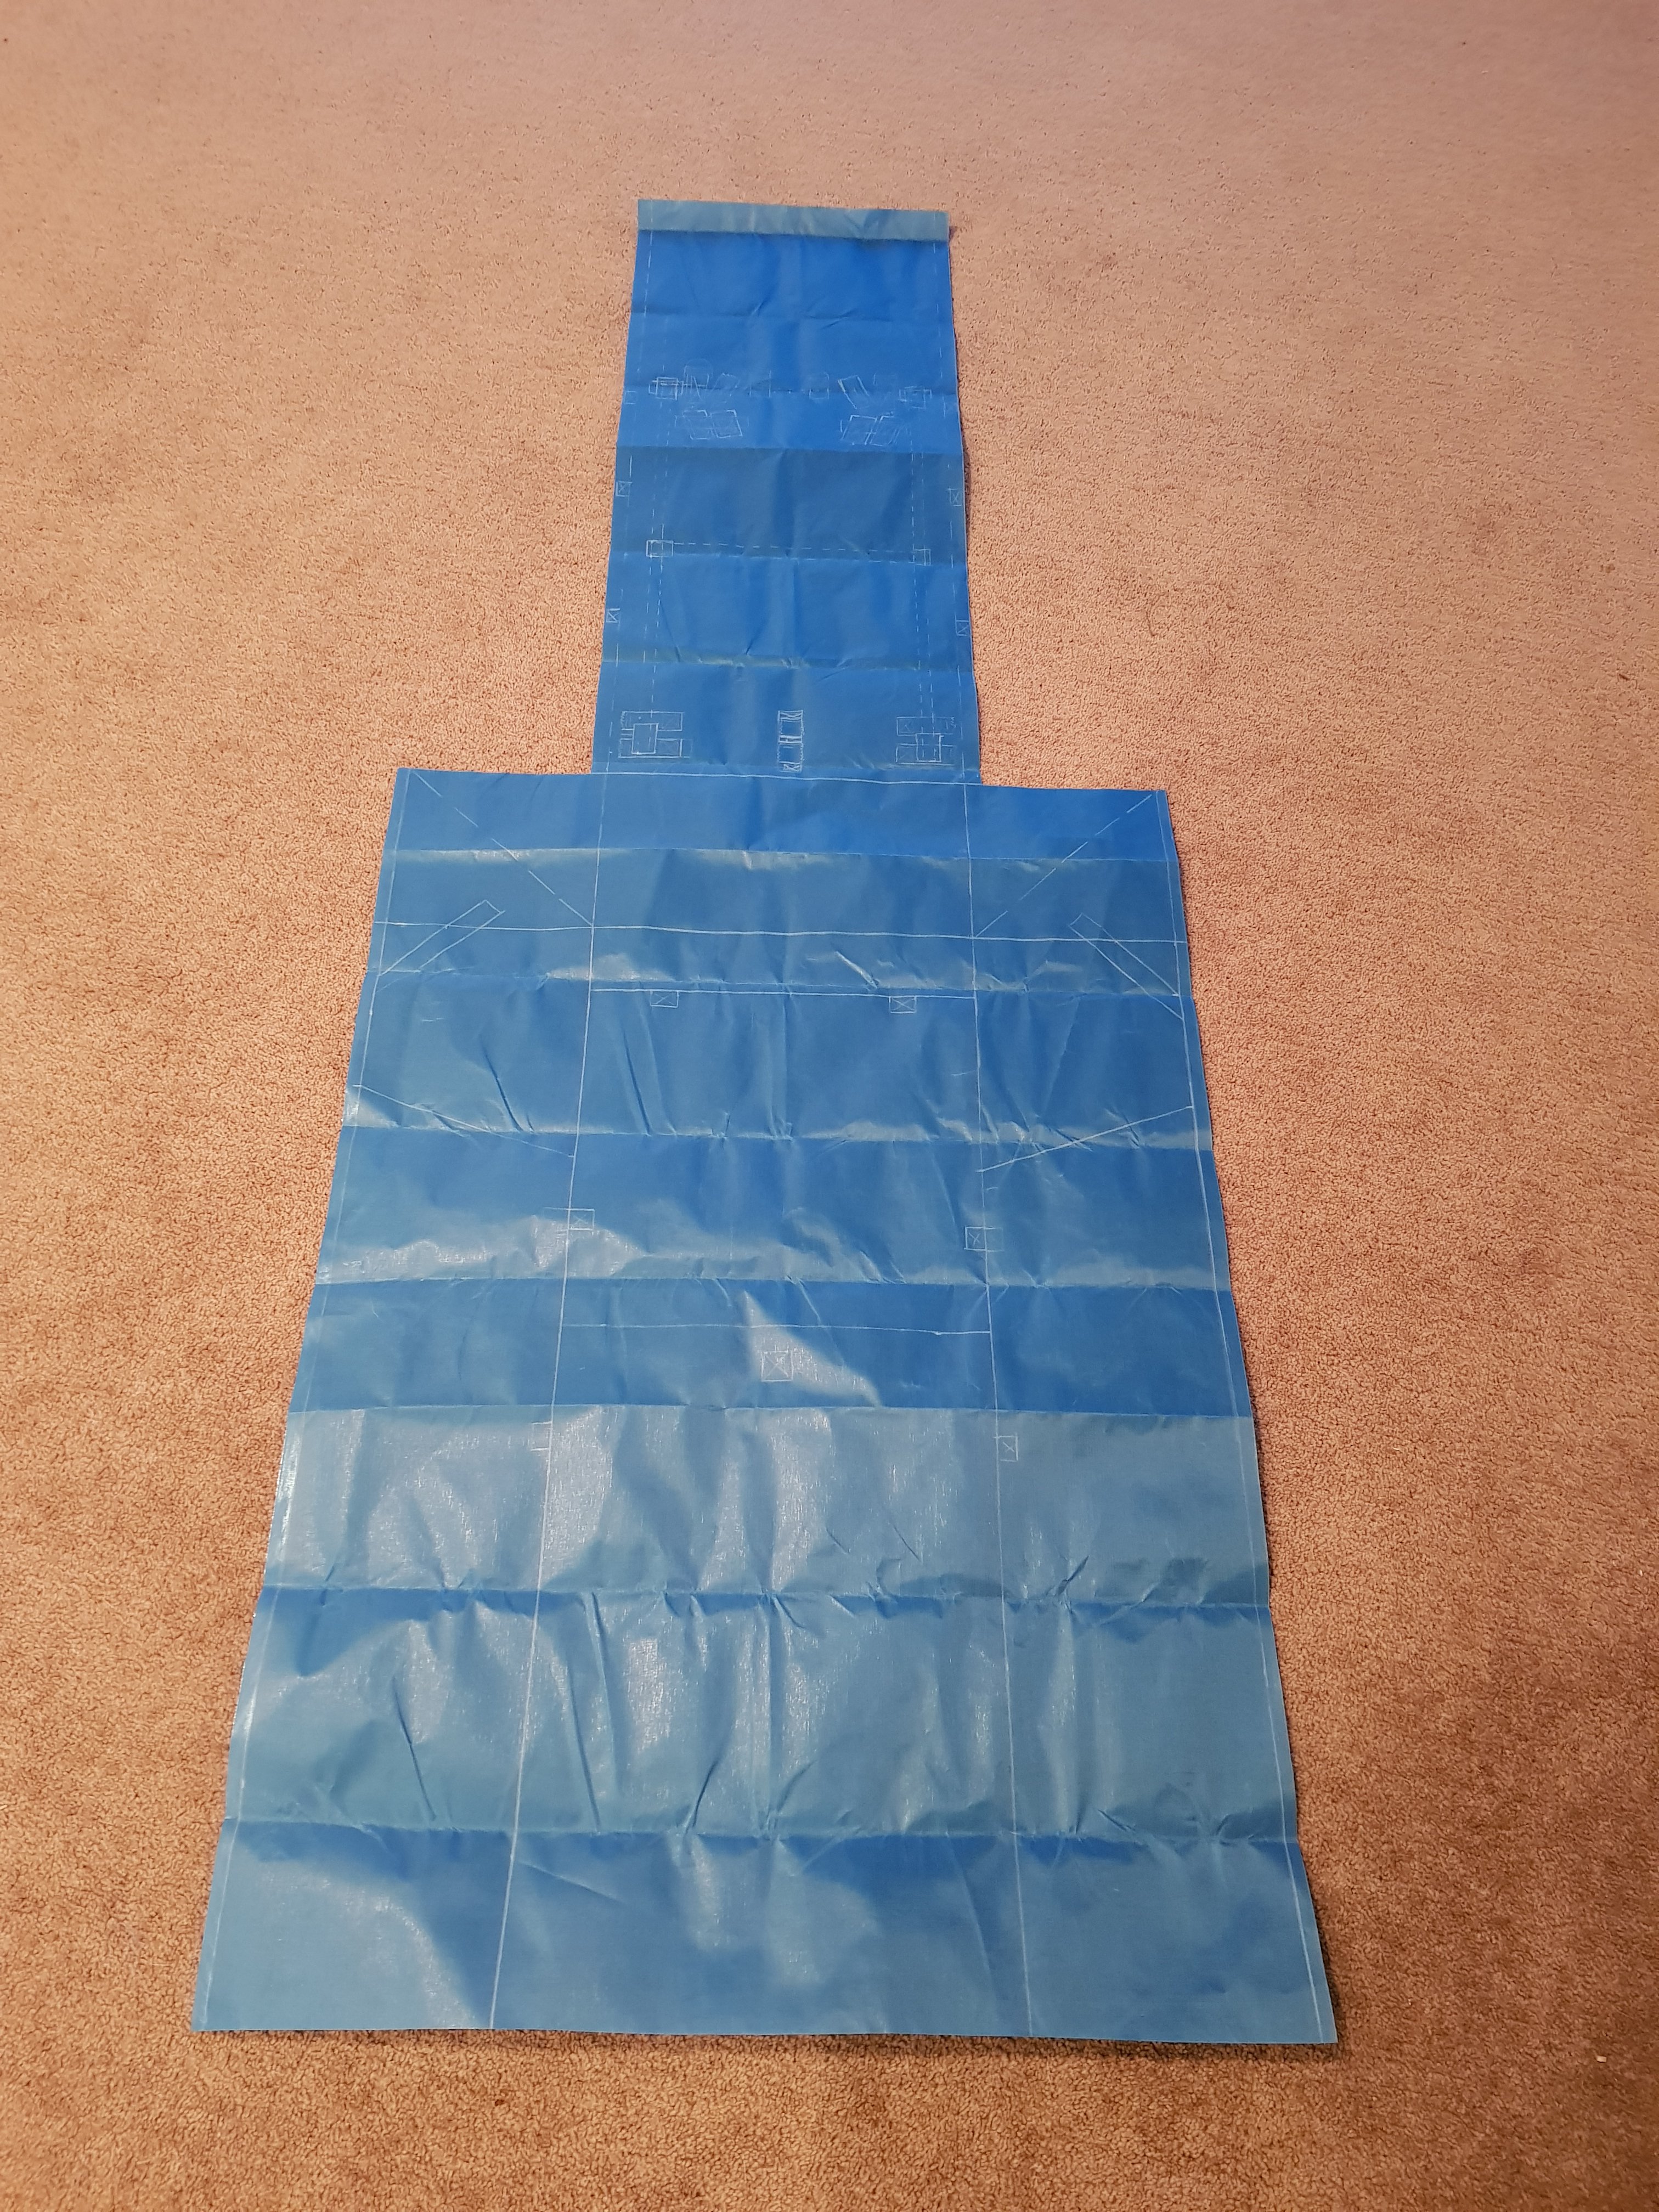
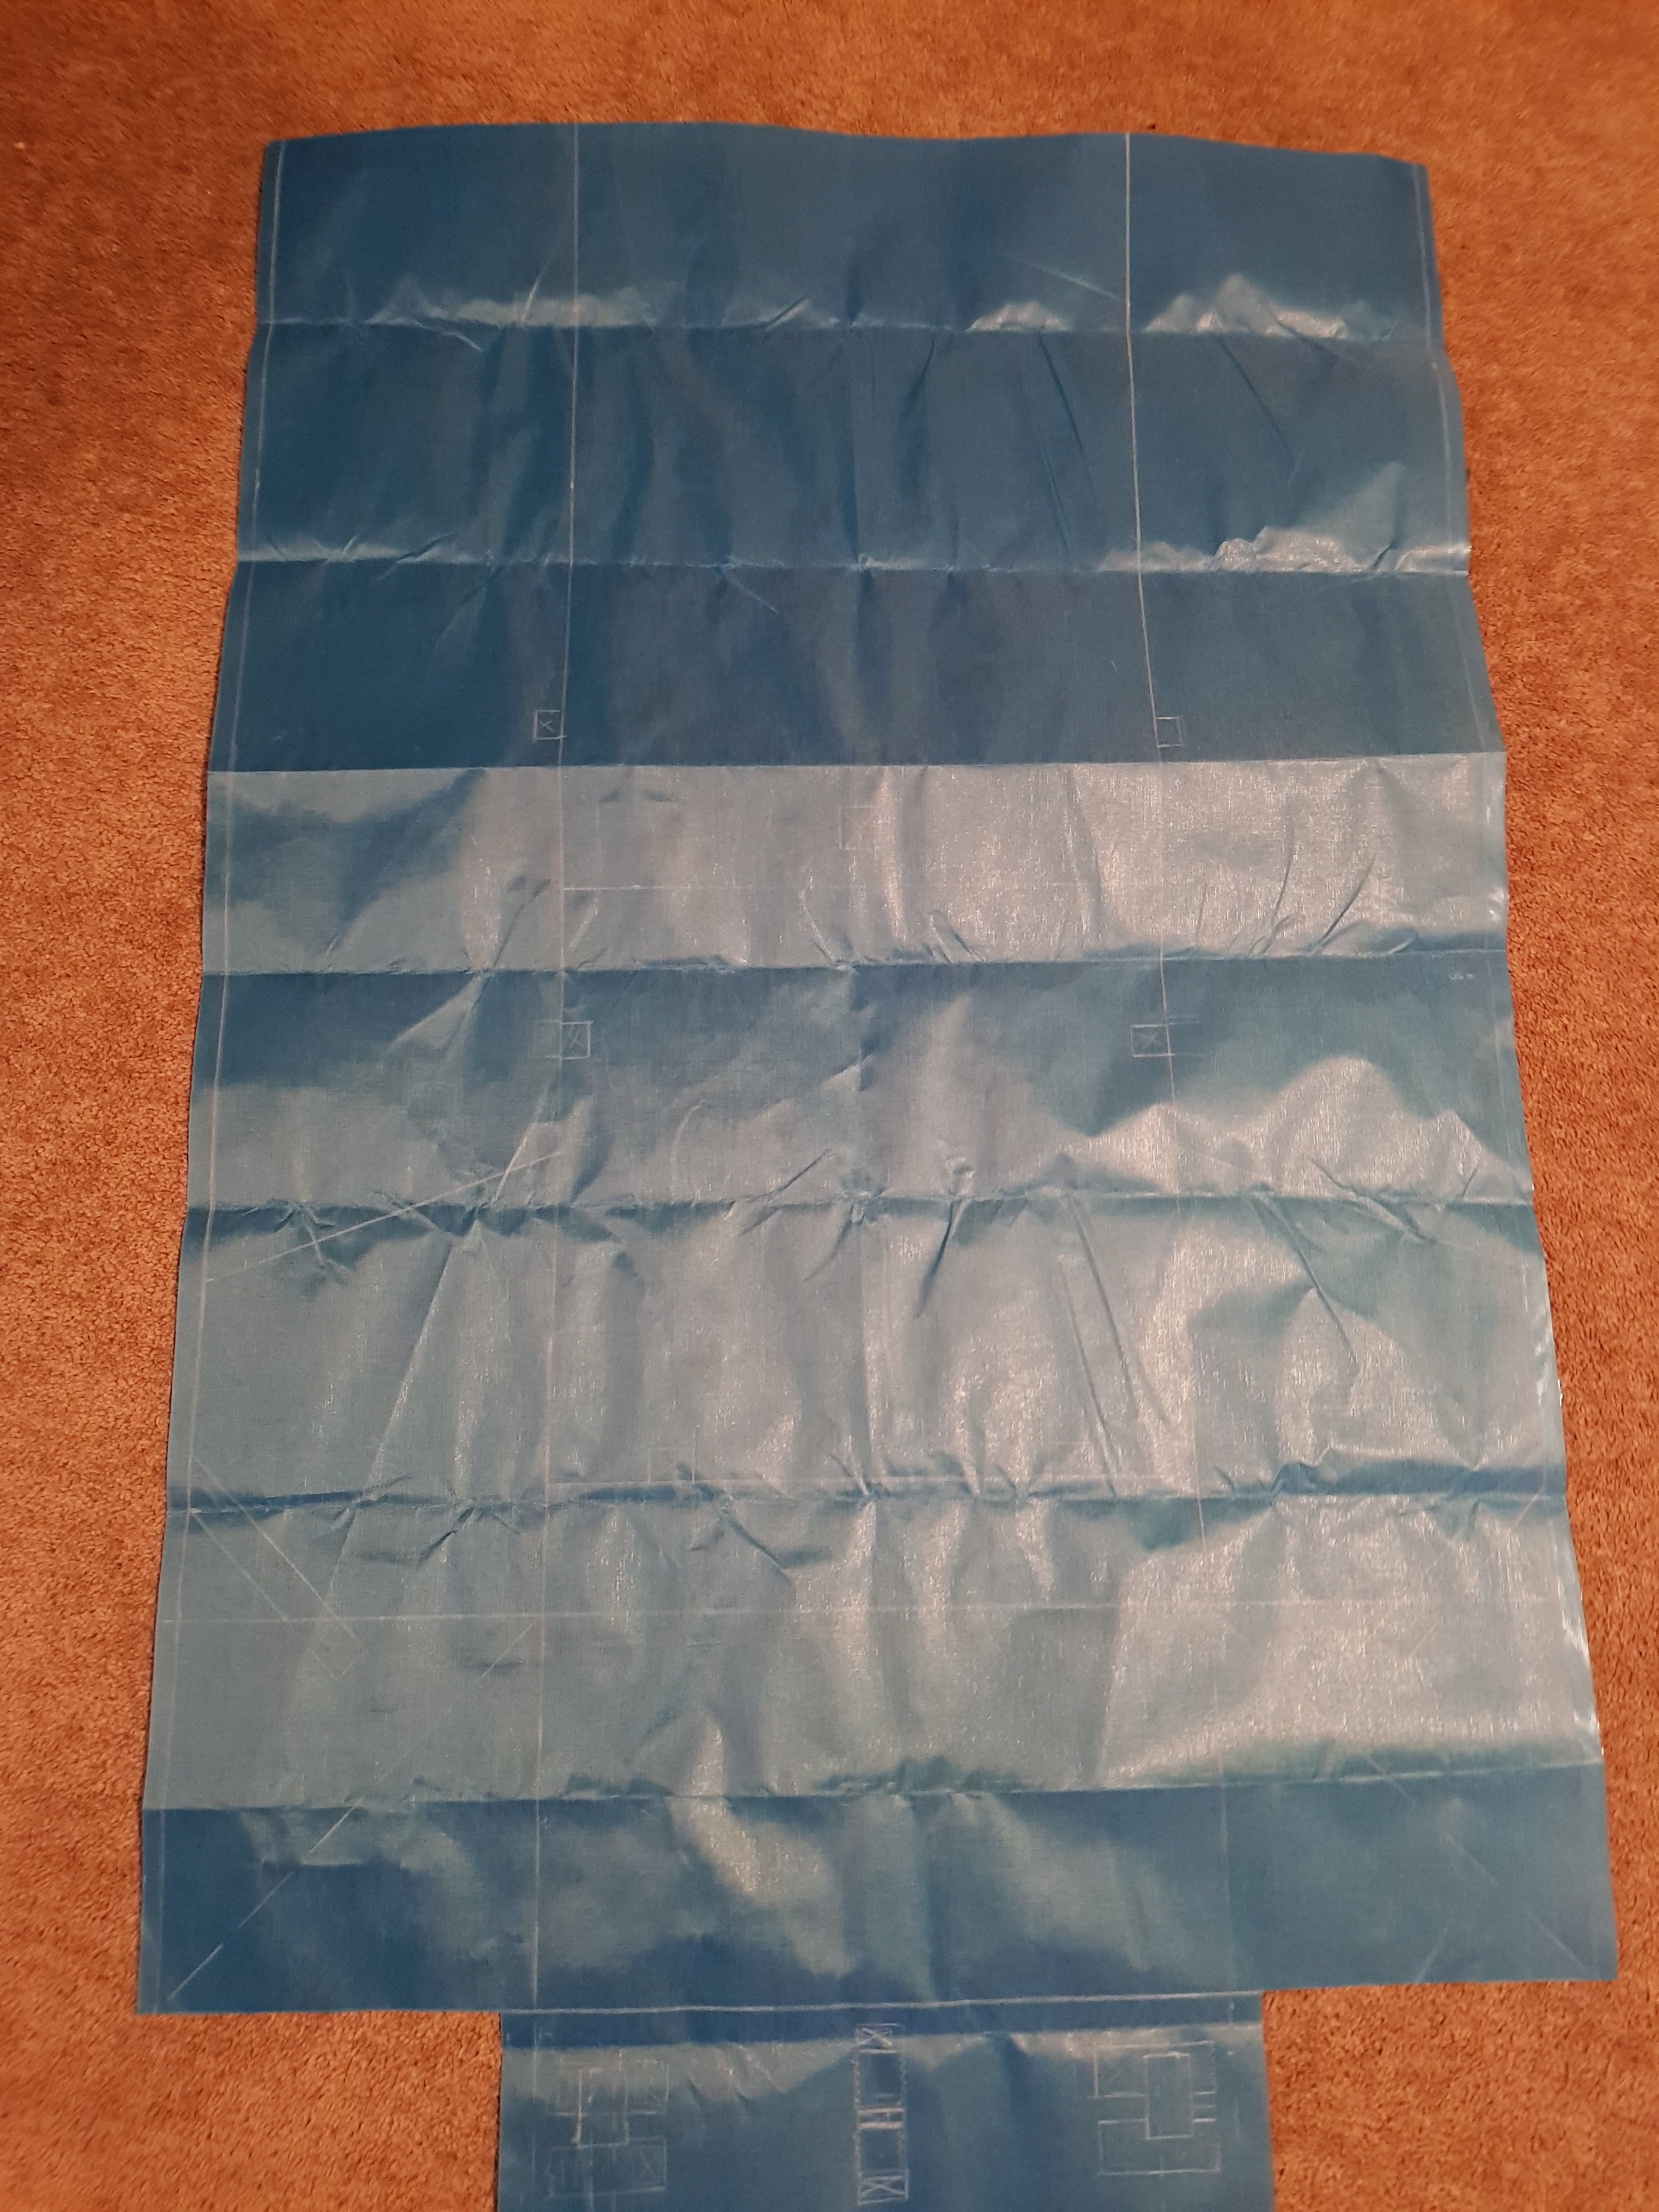
Firstly I did a mock up with a cheap curtain fabric to get the size right and to figure out how to sew it. I have a basic knowledge of sewing – pretty much I know how to sew a straight-ish line with a sewing machine. I did some research on different seams and techniques and found it was much easier than I expected to sew the pack.
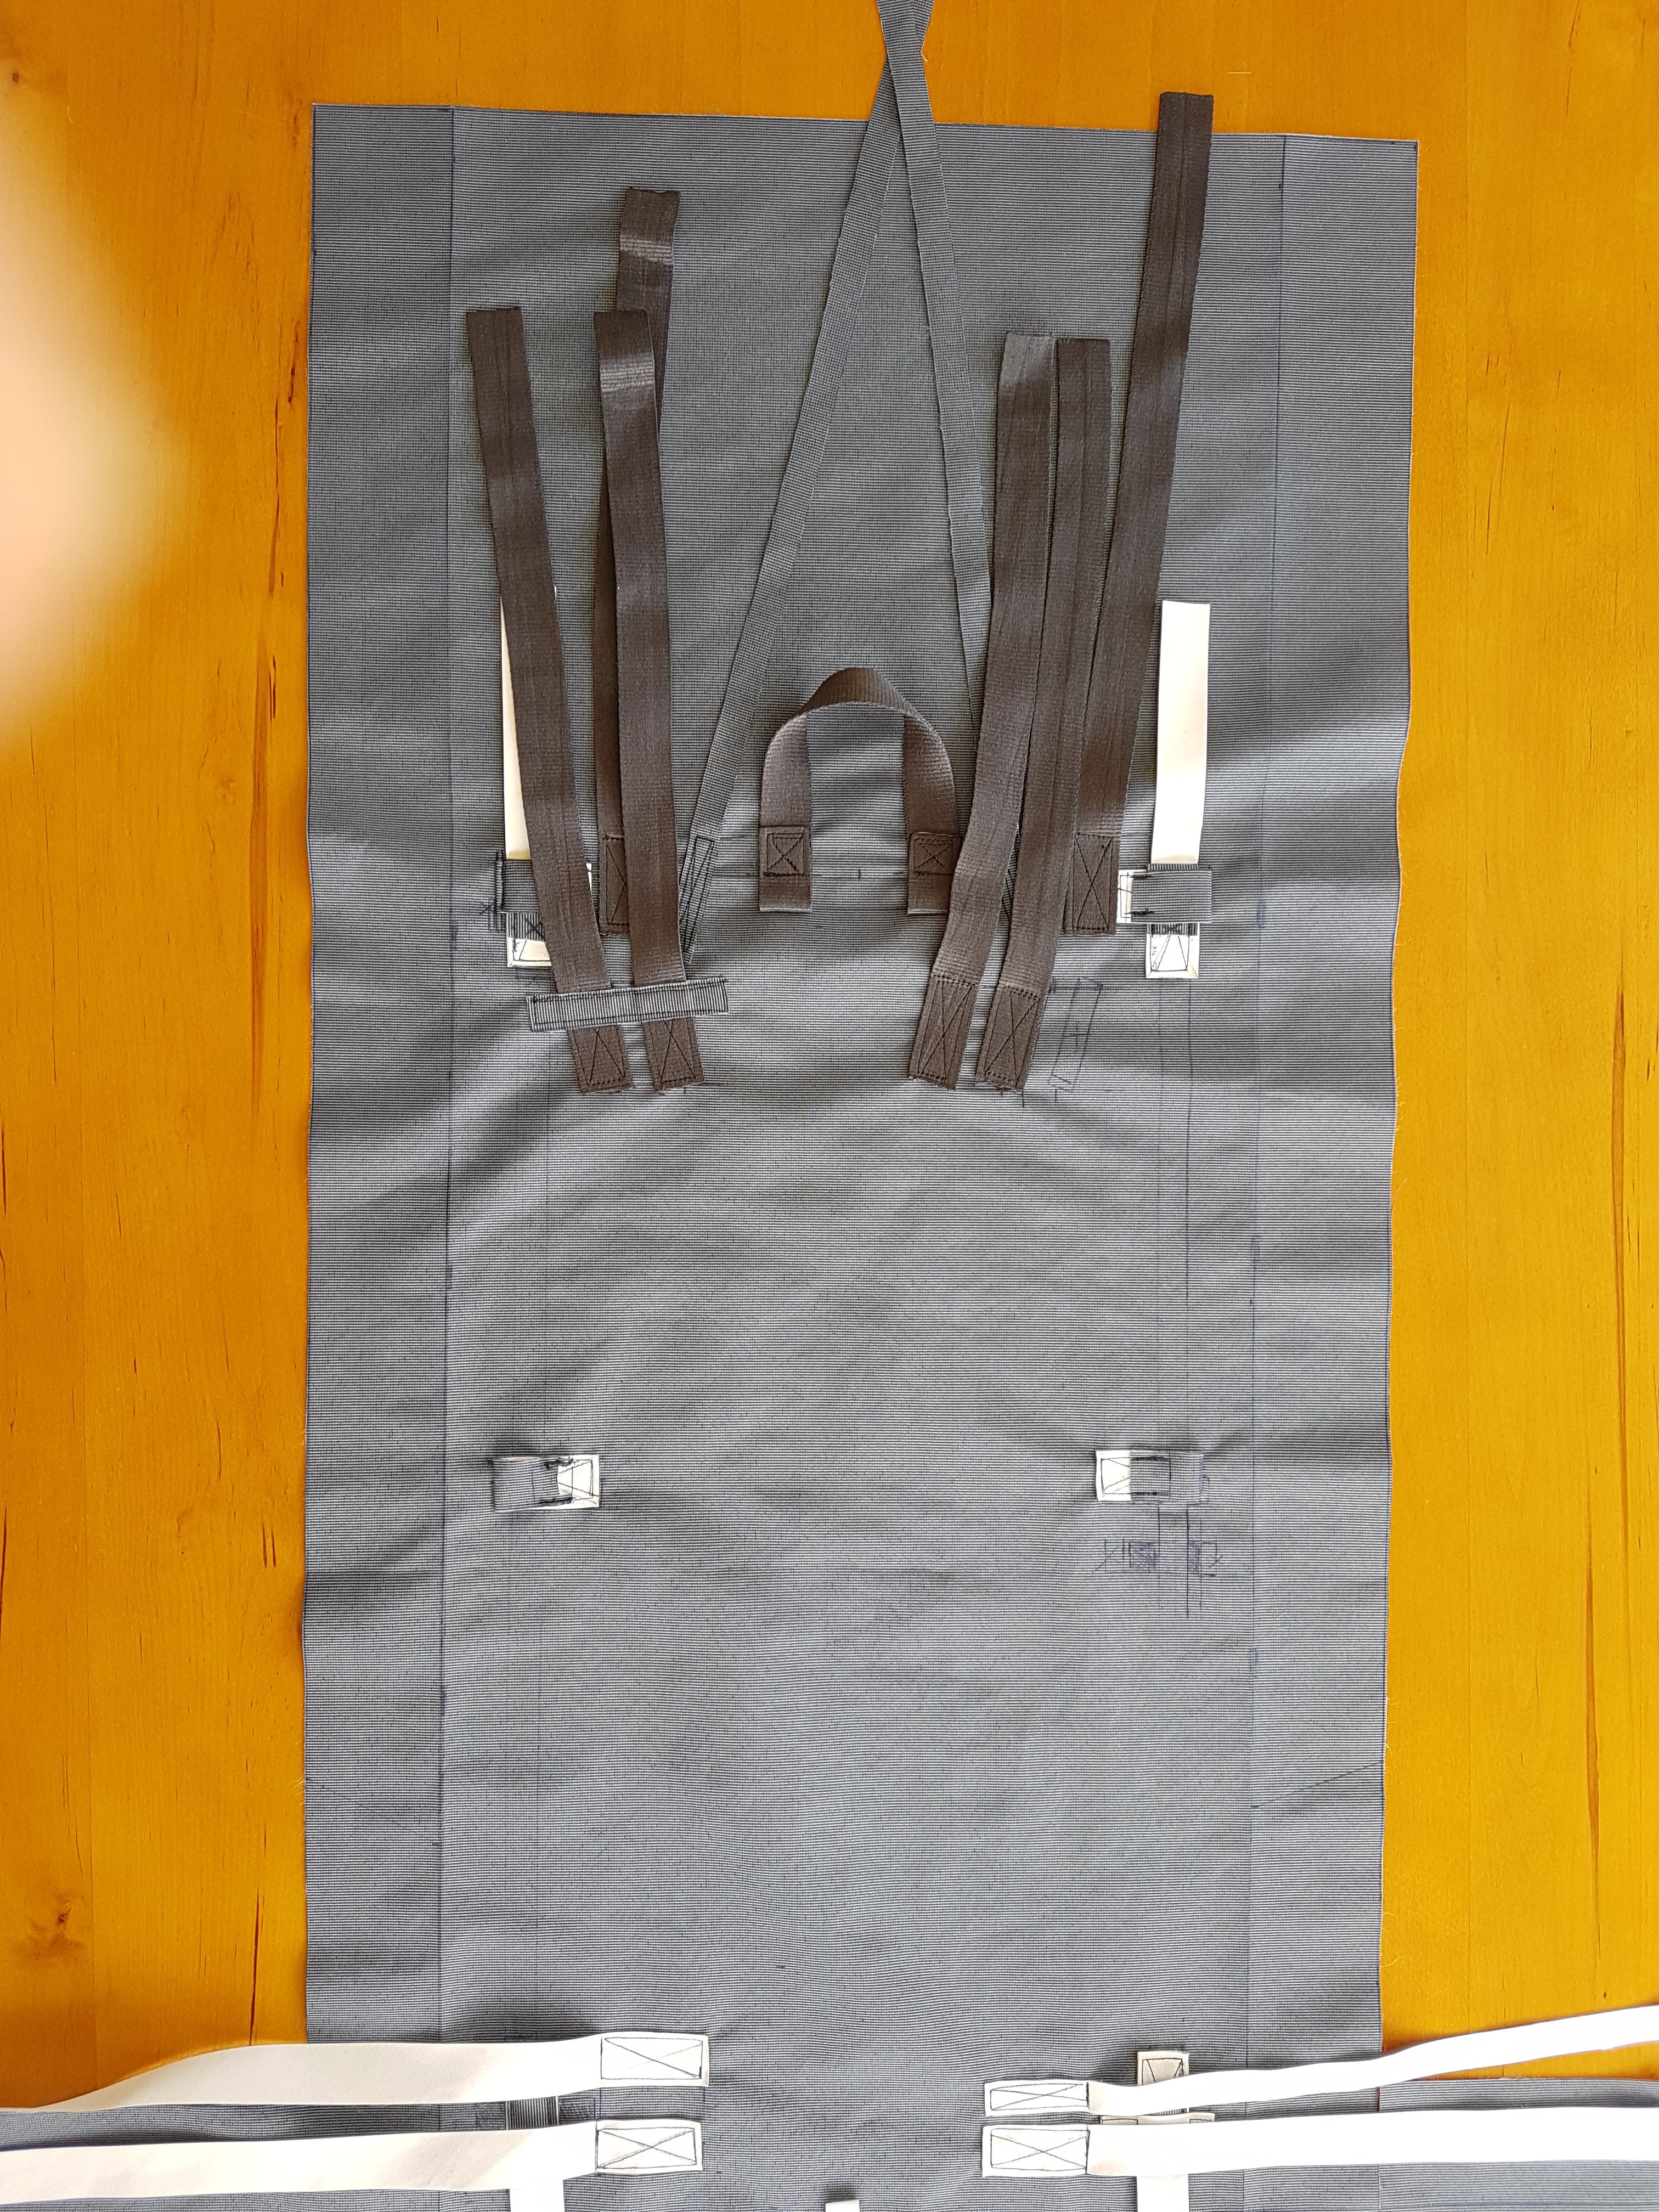
Prototype
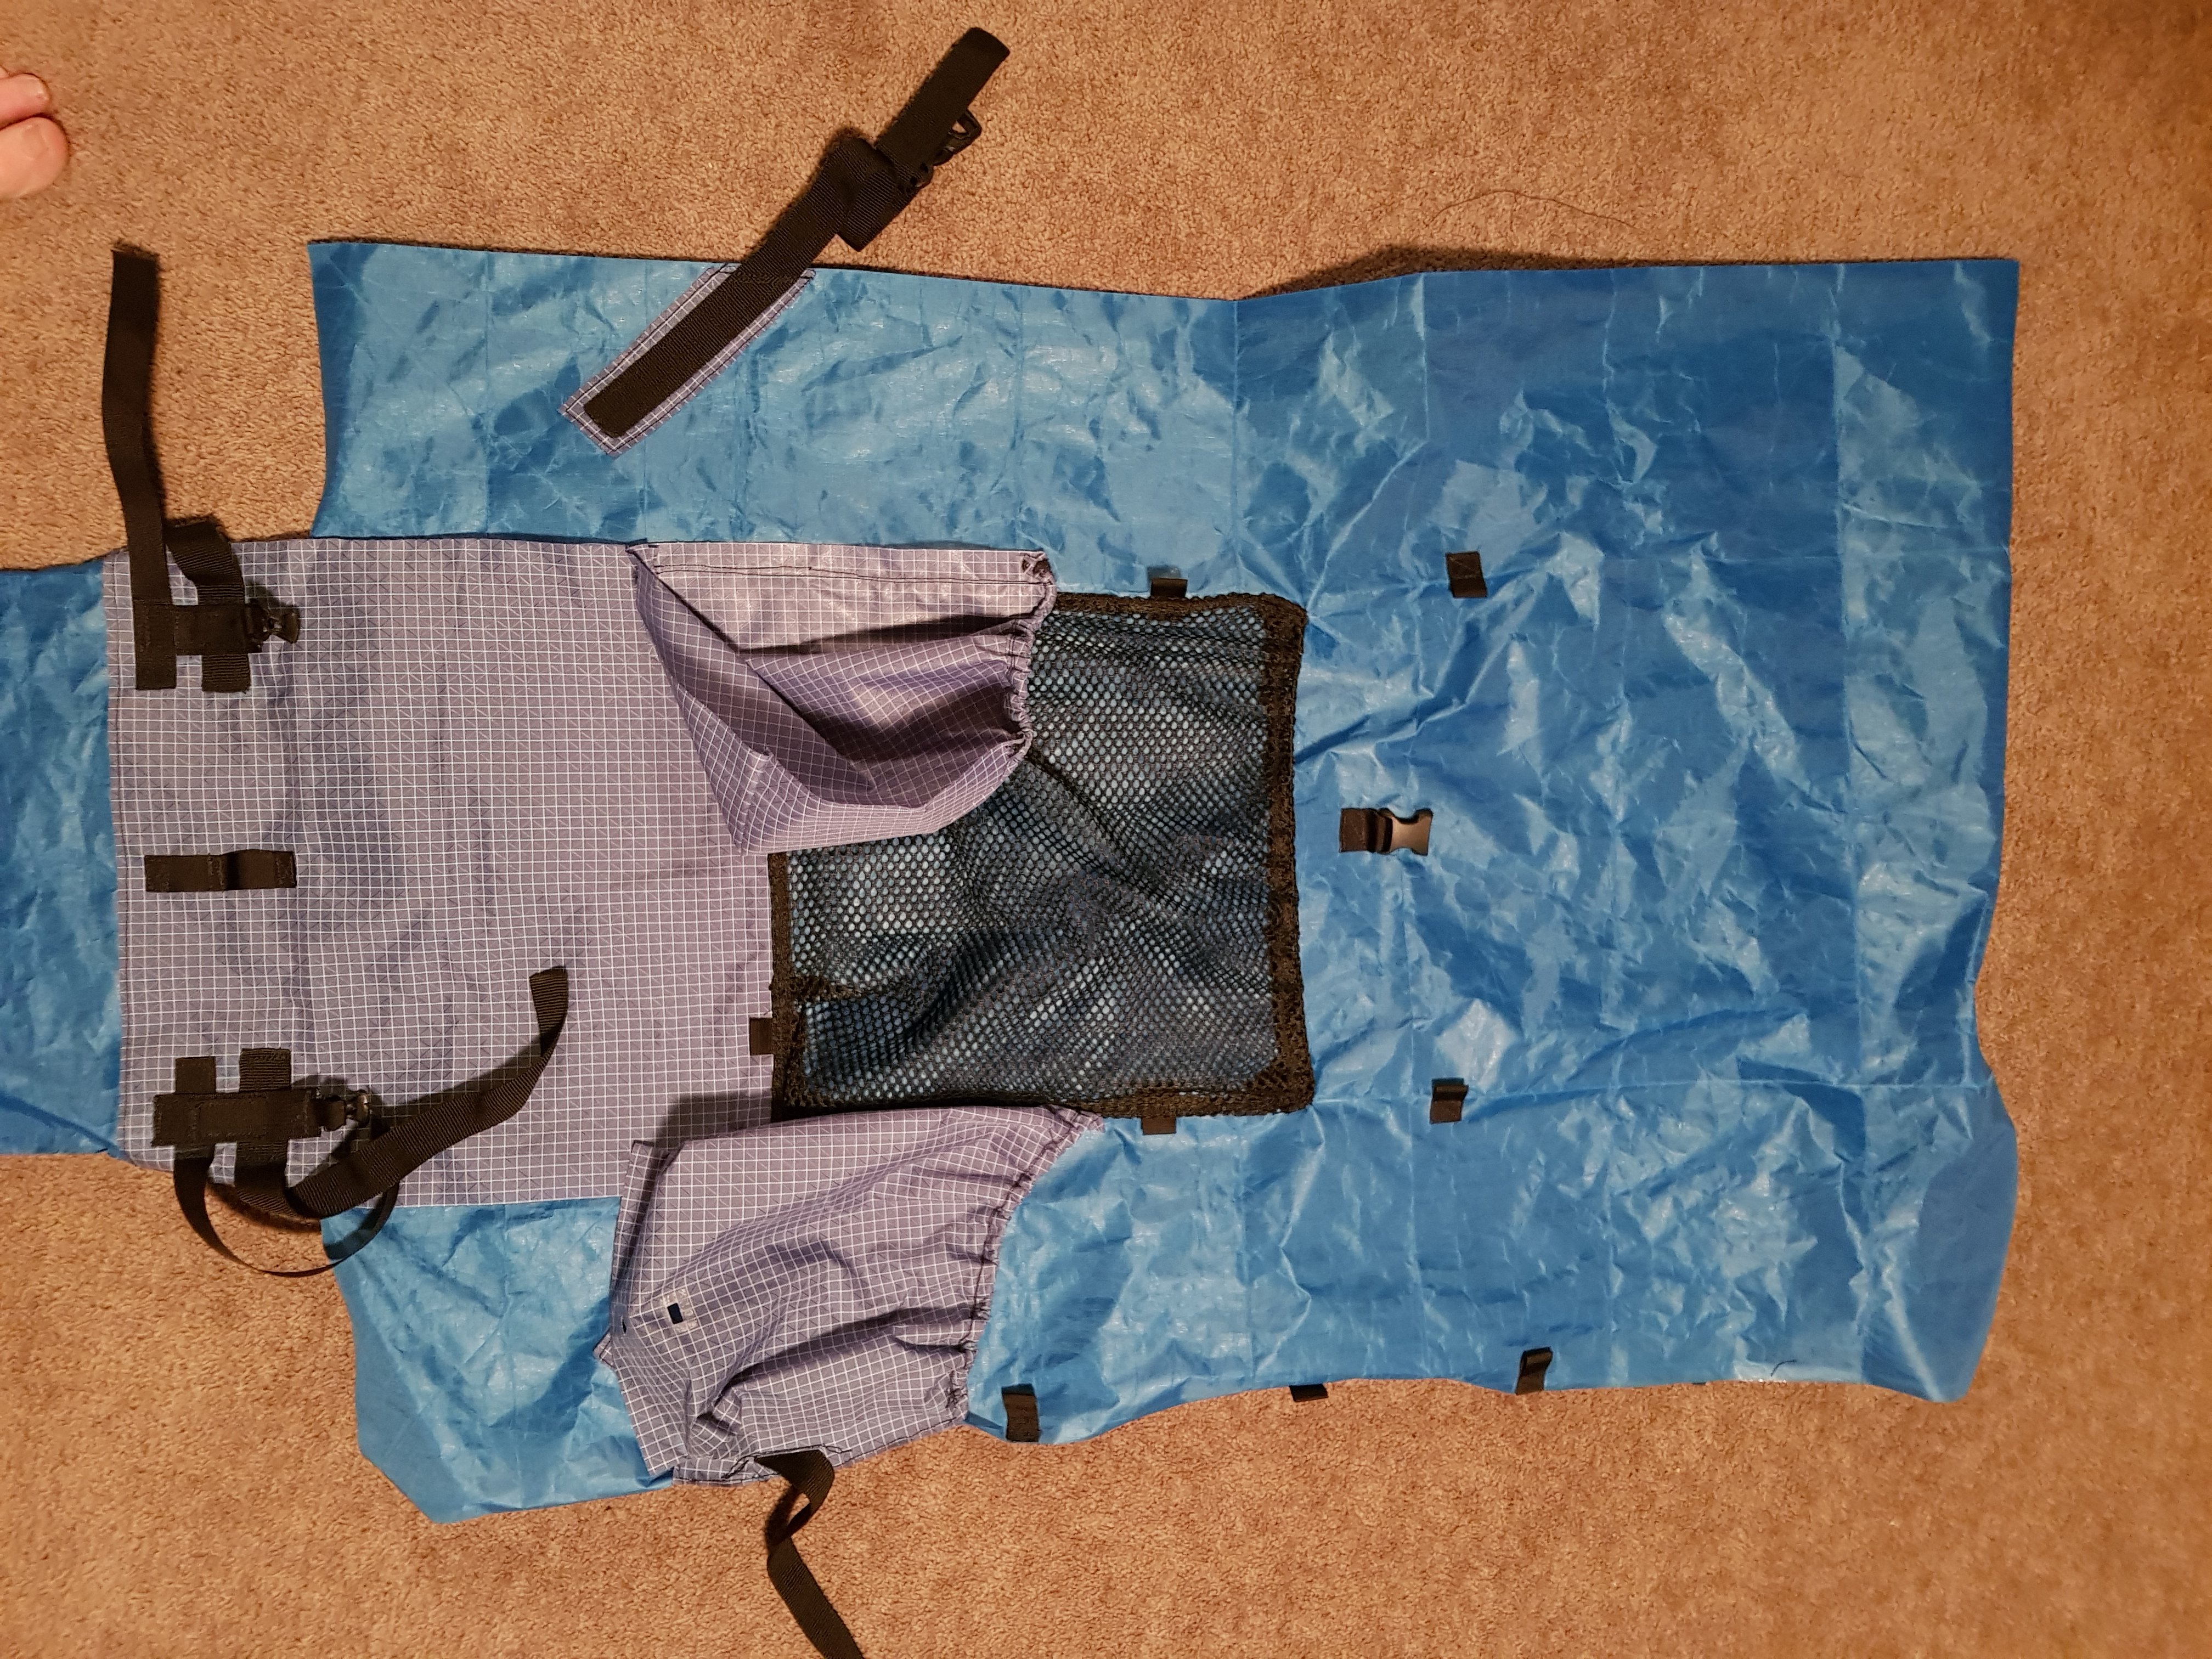
With the prototype finished I nervously cut into the expensive DCF (Dyneema Composite Fabric) fabric I had purchased through www.zpacks.com.
The construction went relatively smoothly and I kept notes with what went well and what to do differently next time.

I took the pack for one 3 hour test hike and then was off to Norway.
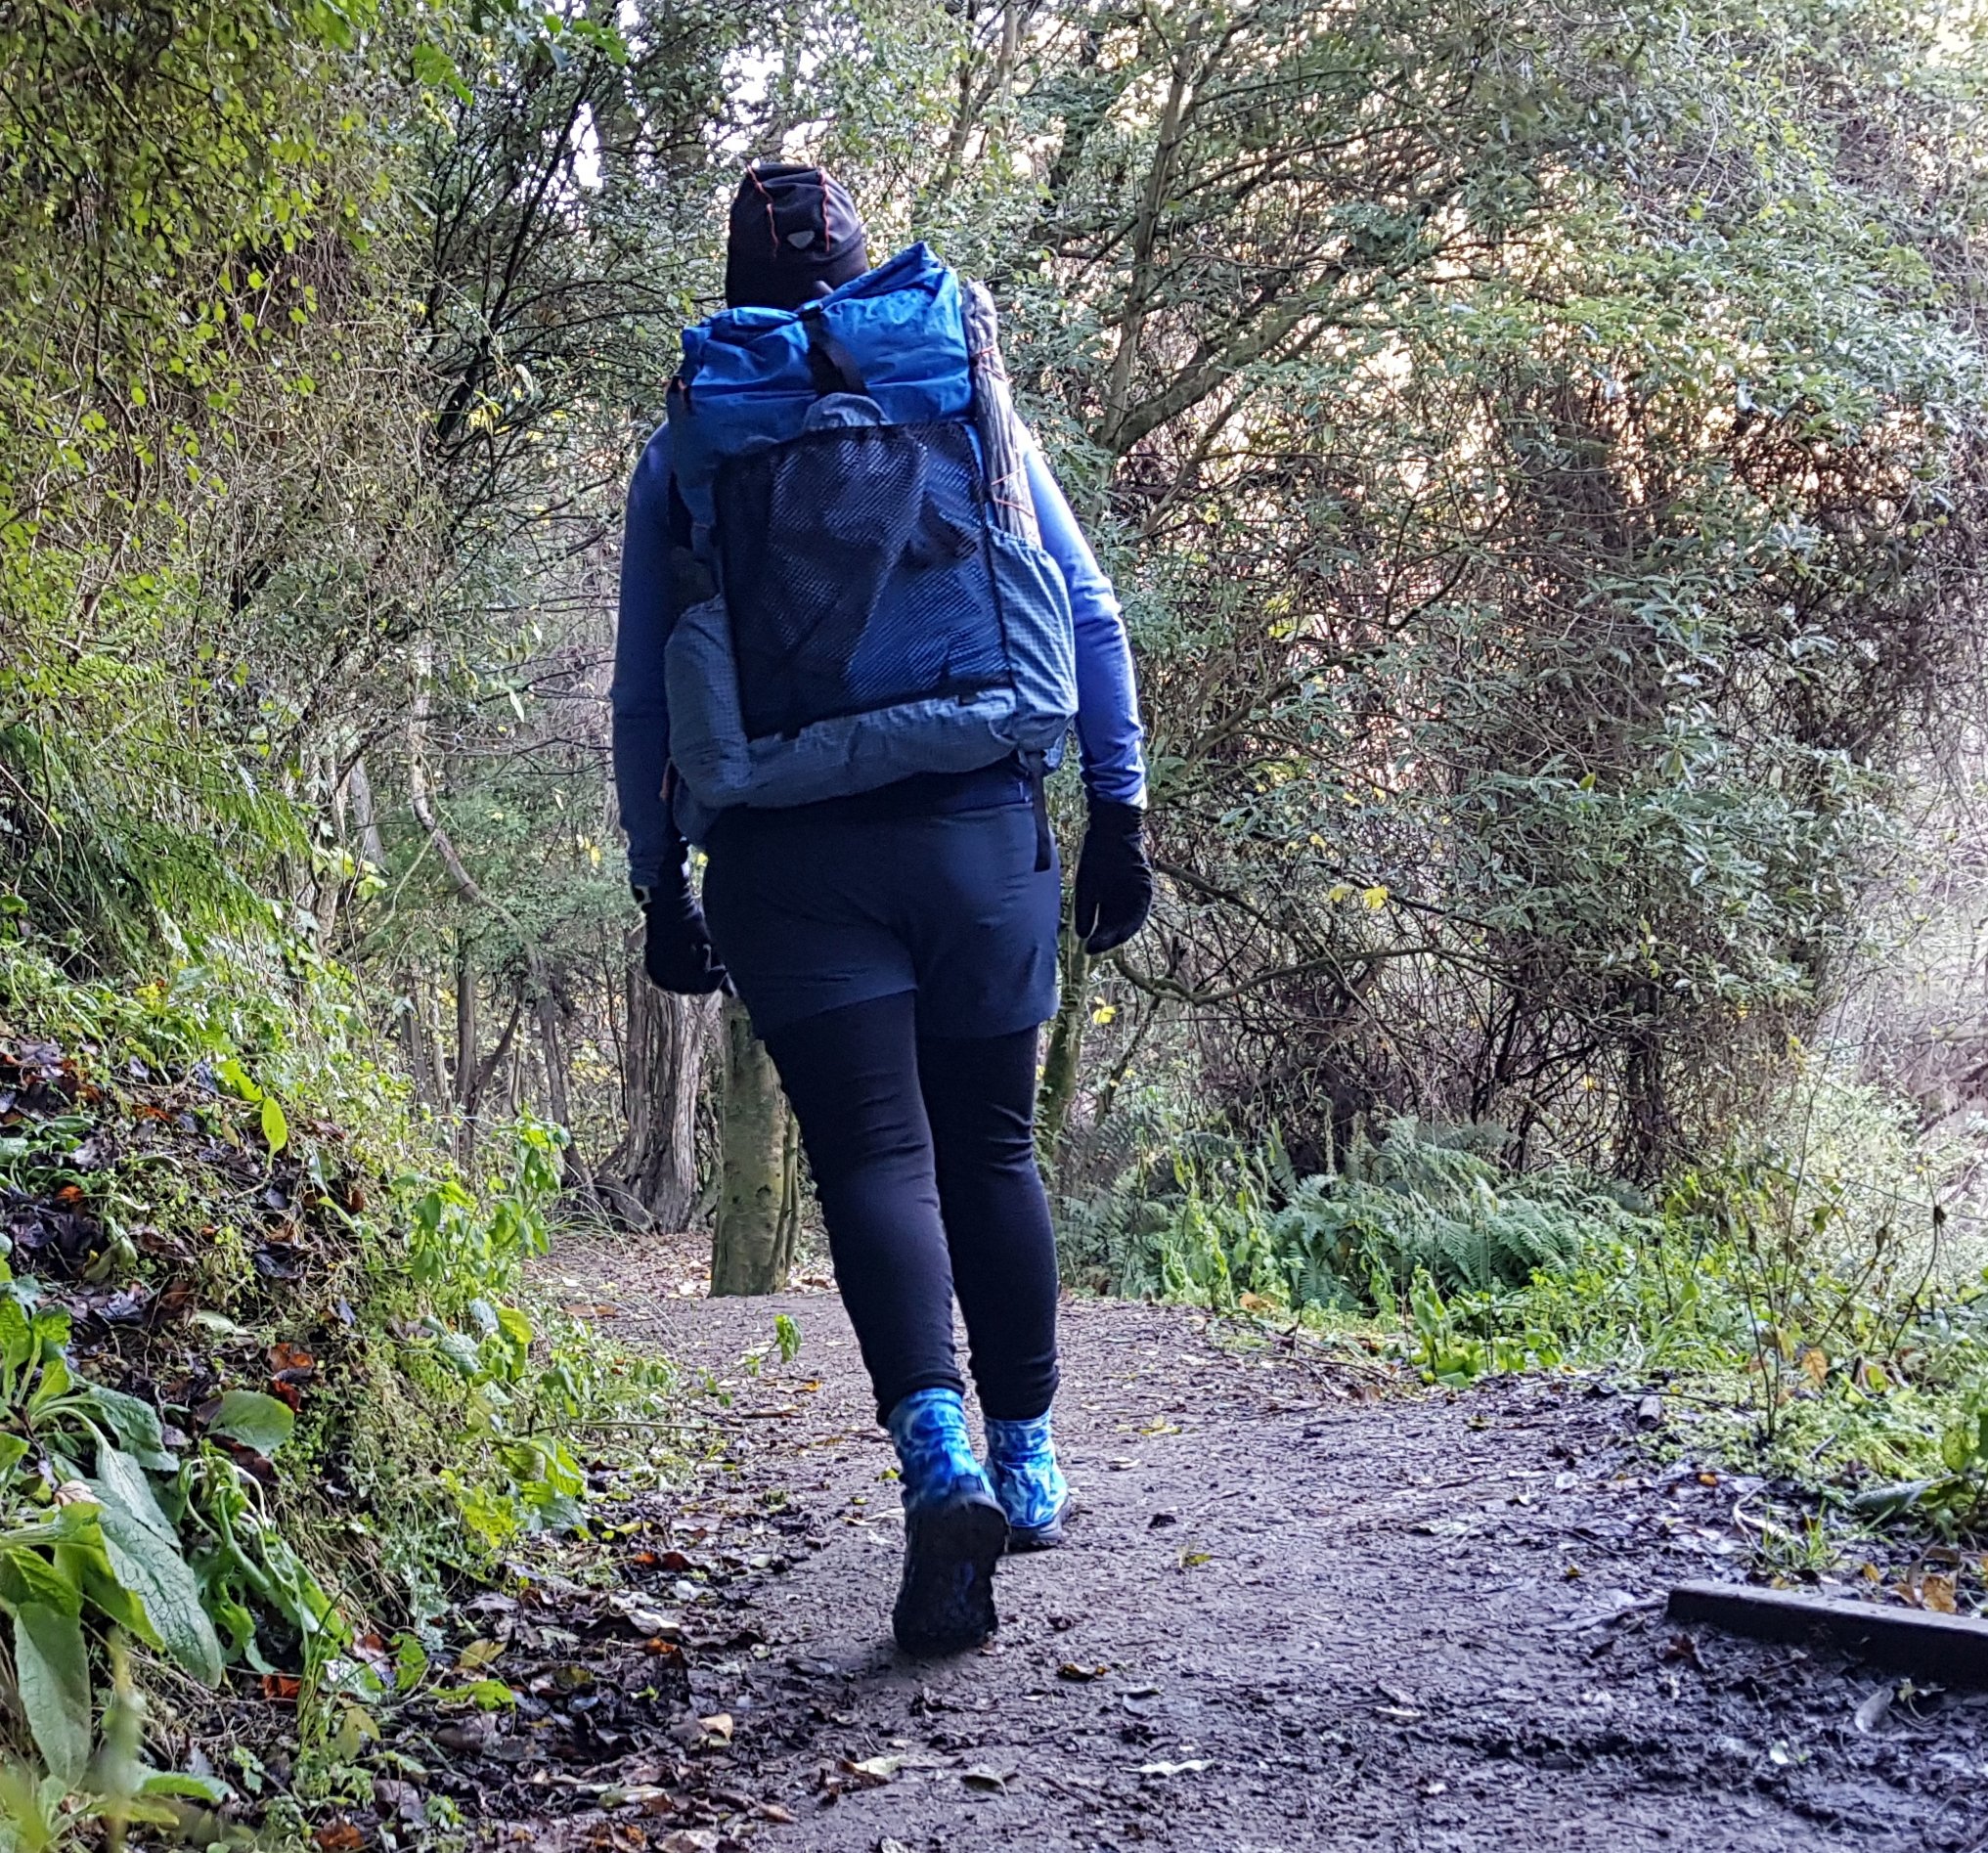
Short test hike
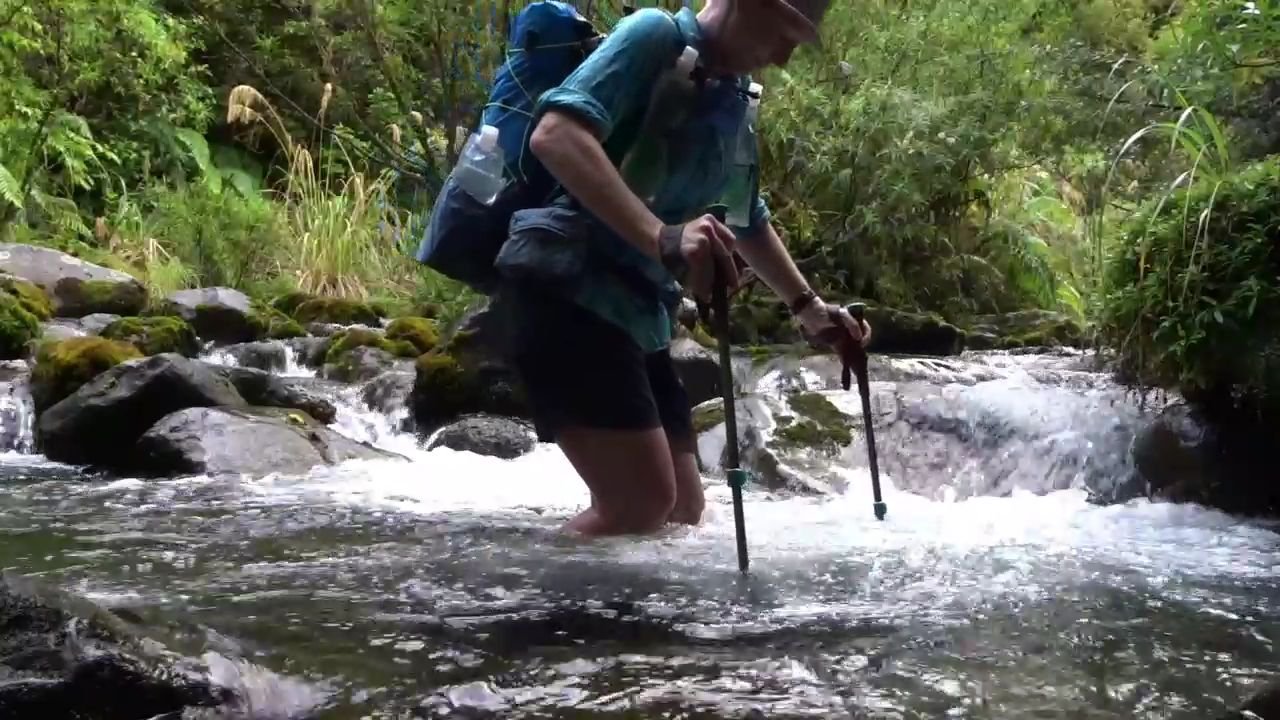
I was a little worried about taking an untested homemade pack for such a challenging adventure but it held up well.

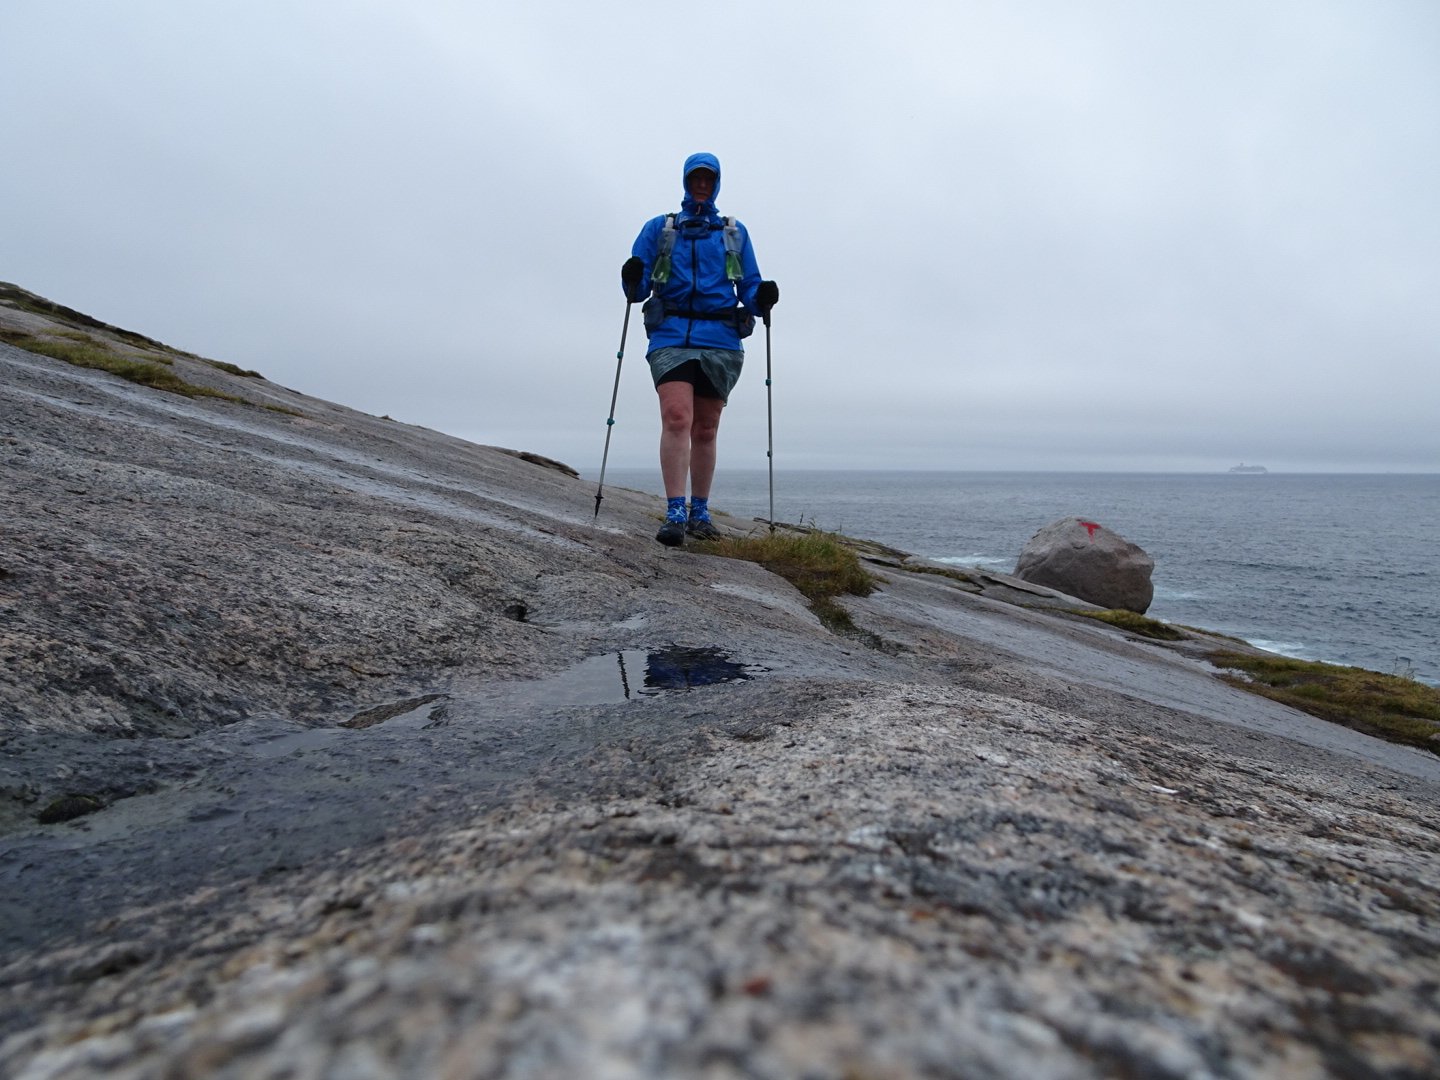
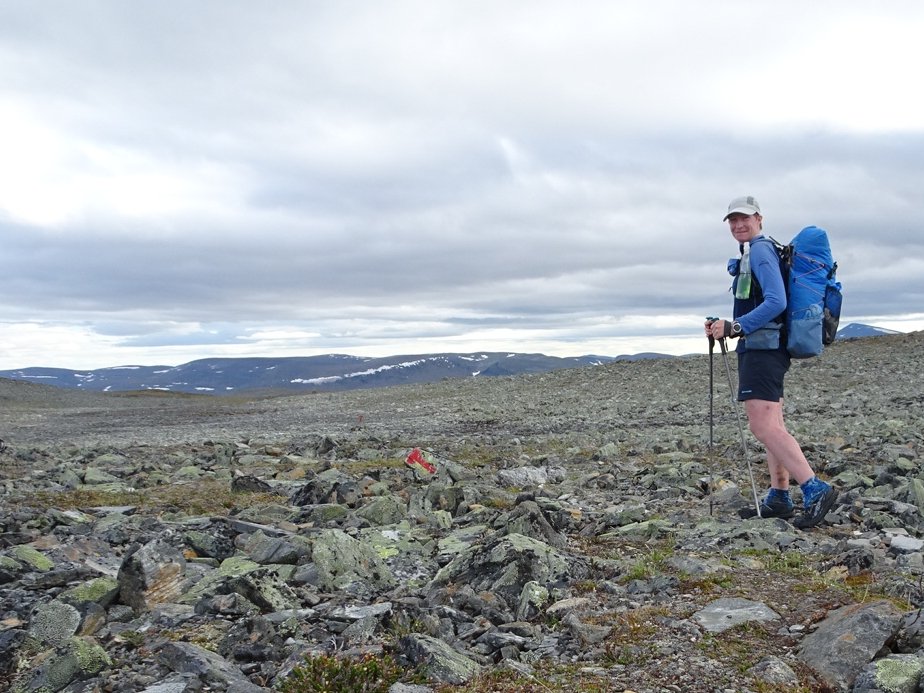
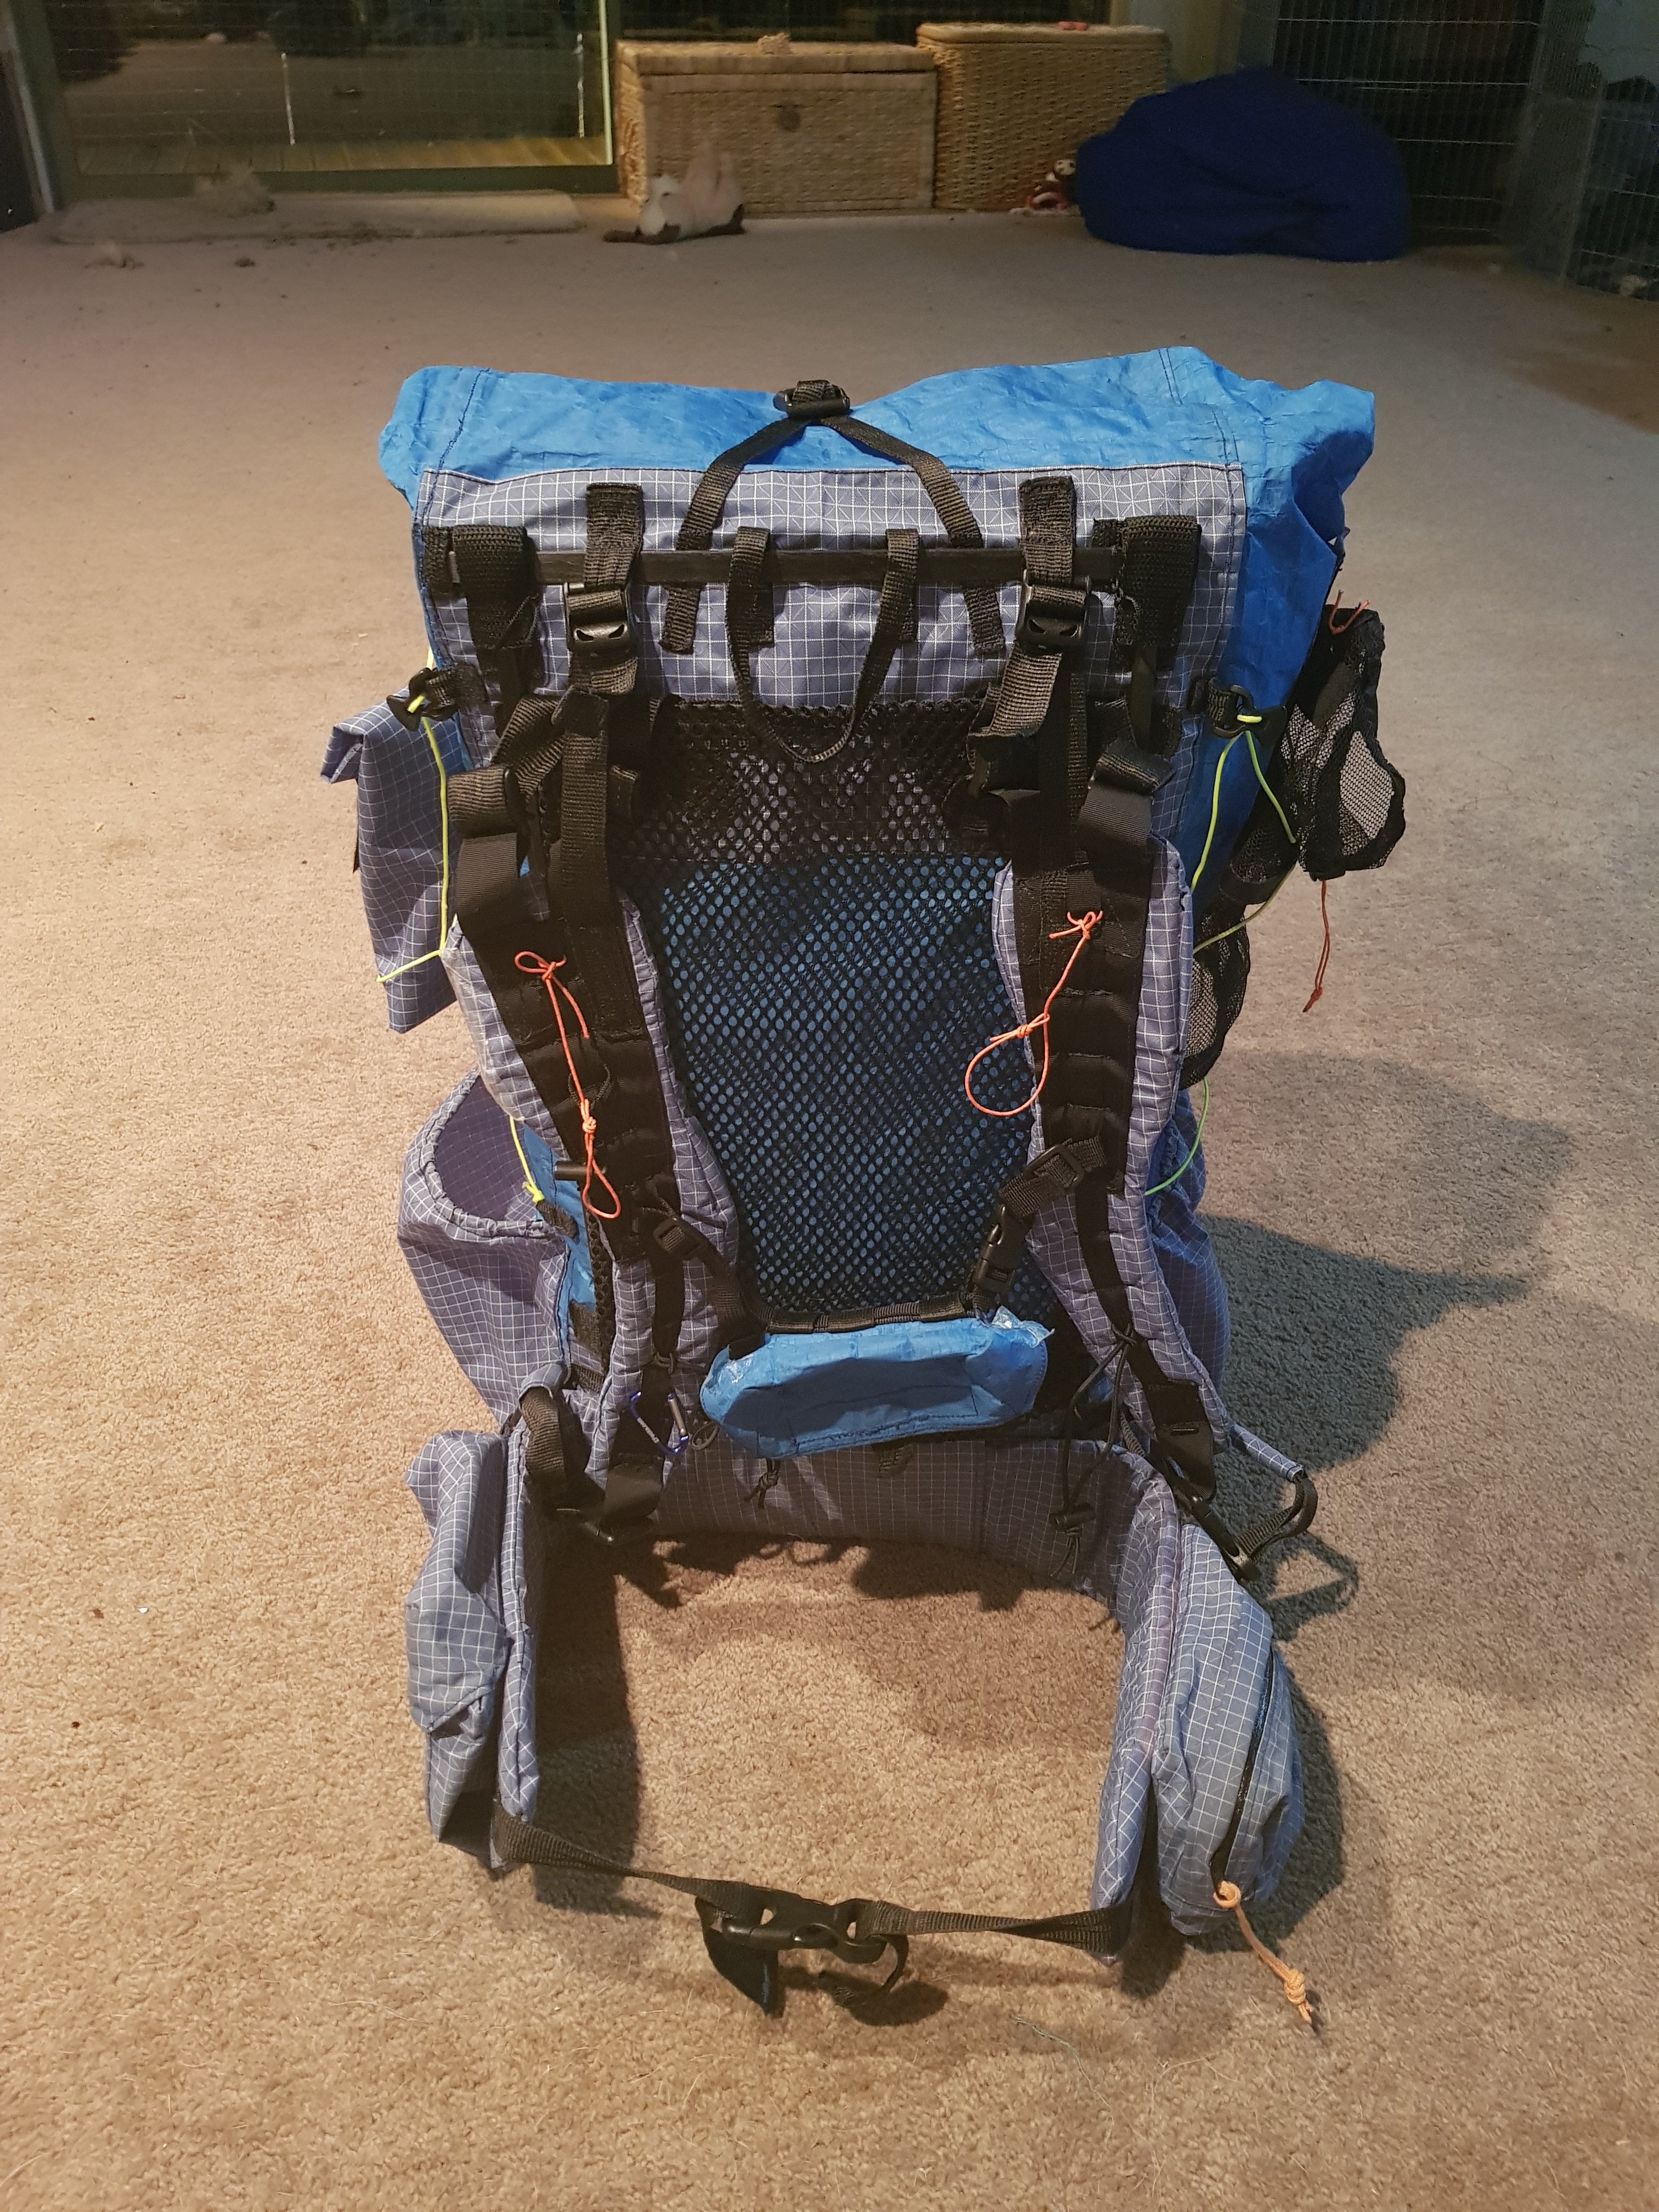
After 2000 km use the only sign of wear was the bottom of my arm strap was a little frayed where it had rubbed on something.
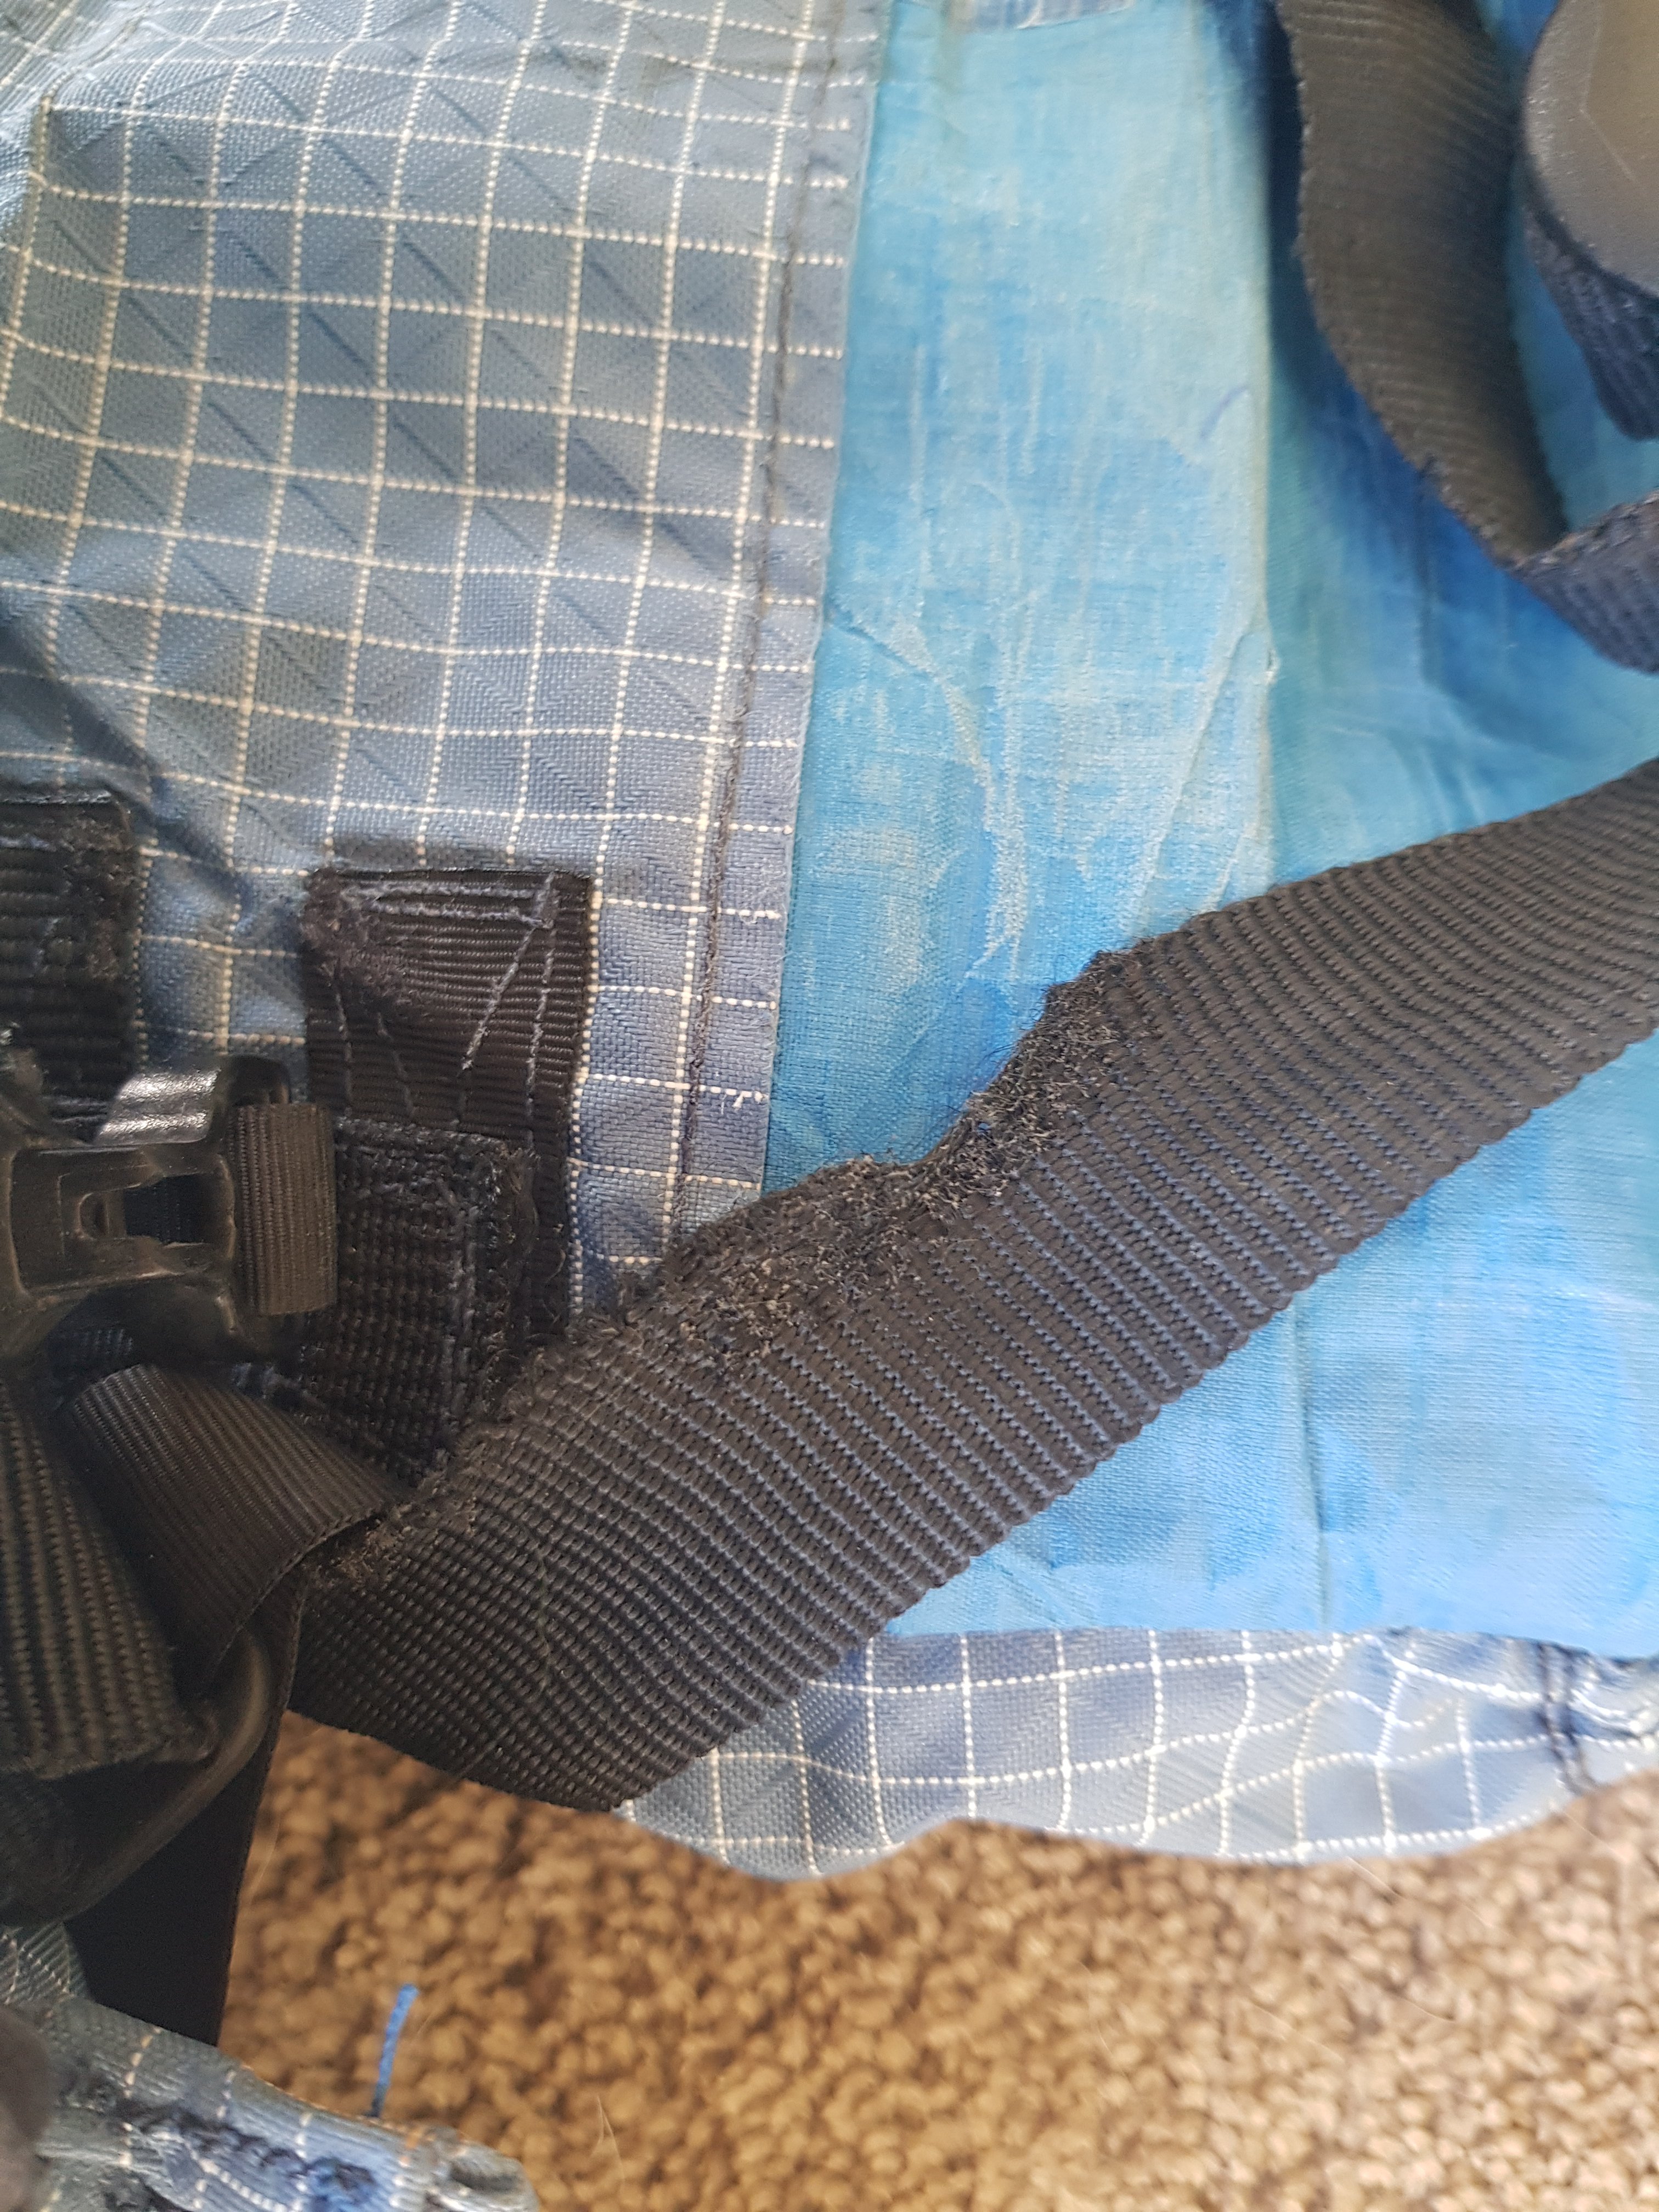
There was also some wear on the back where the hip belt had moved. The only issue I had was the hip belt attachment.
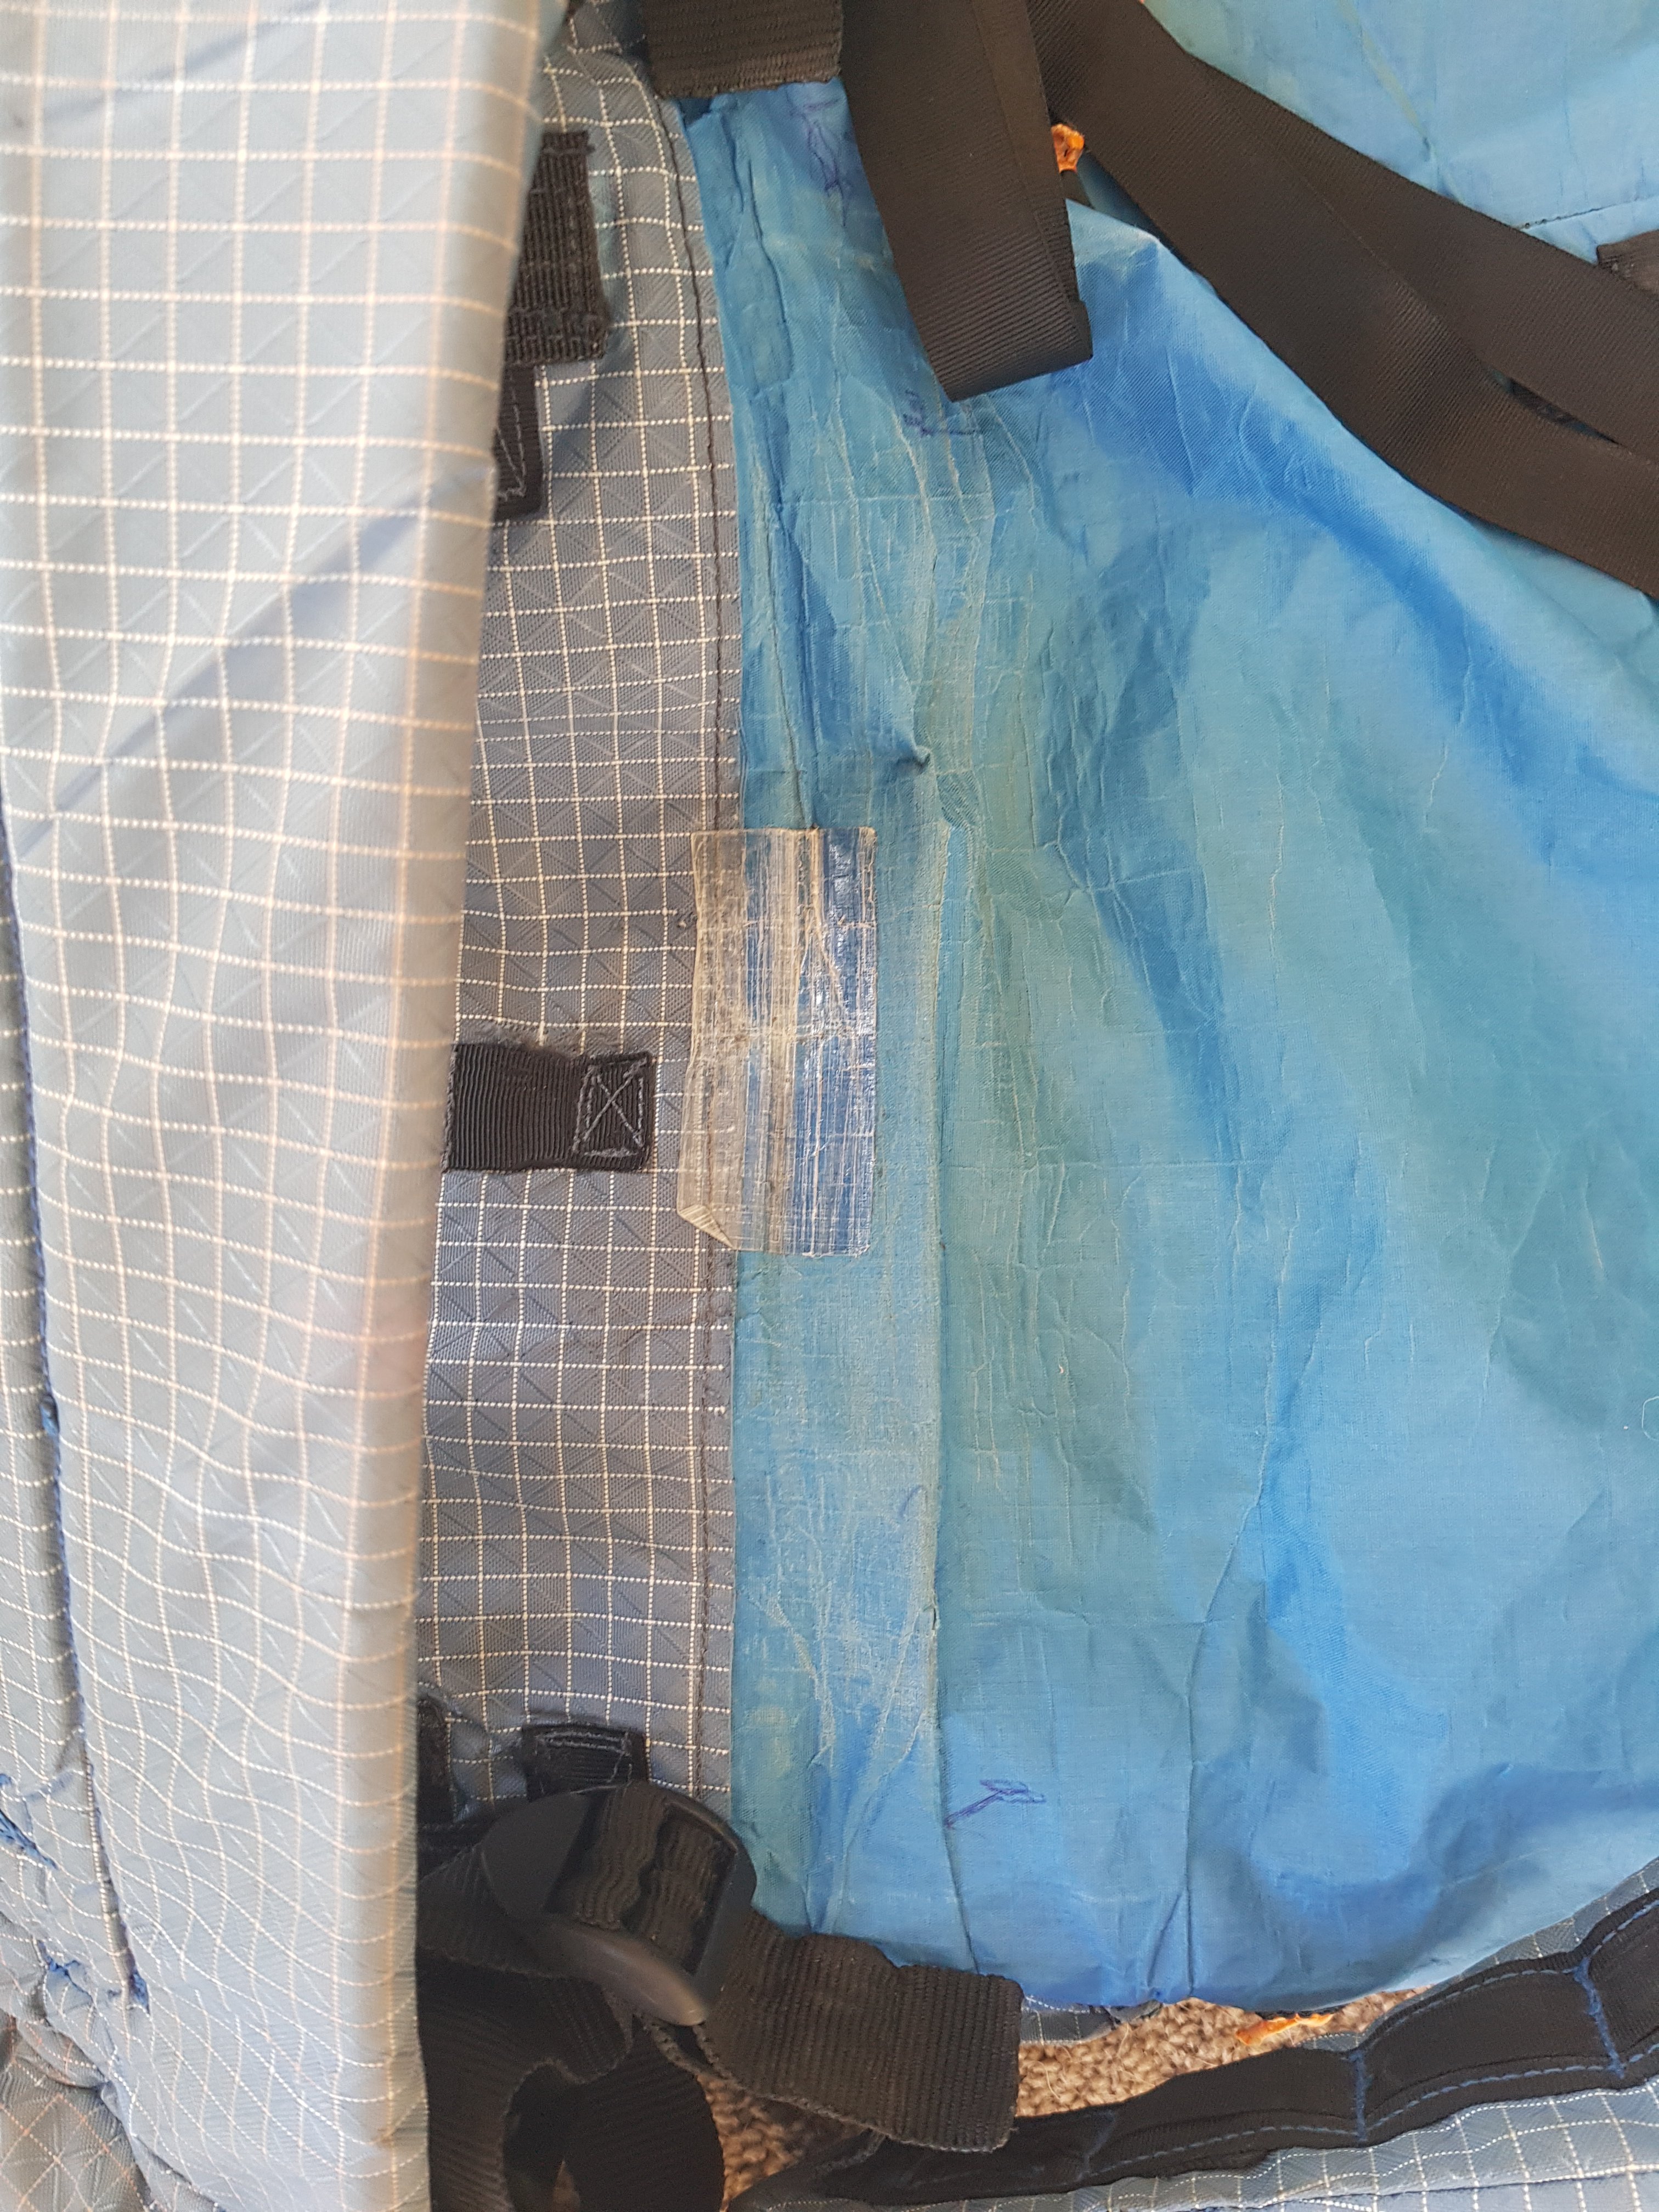
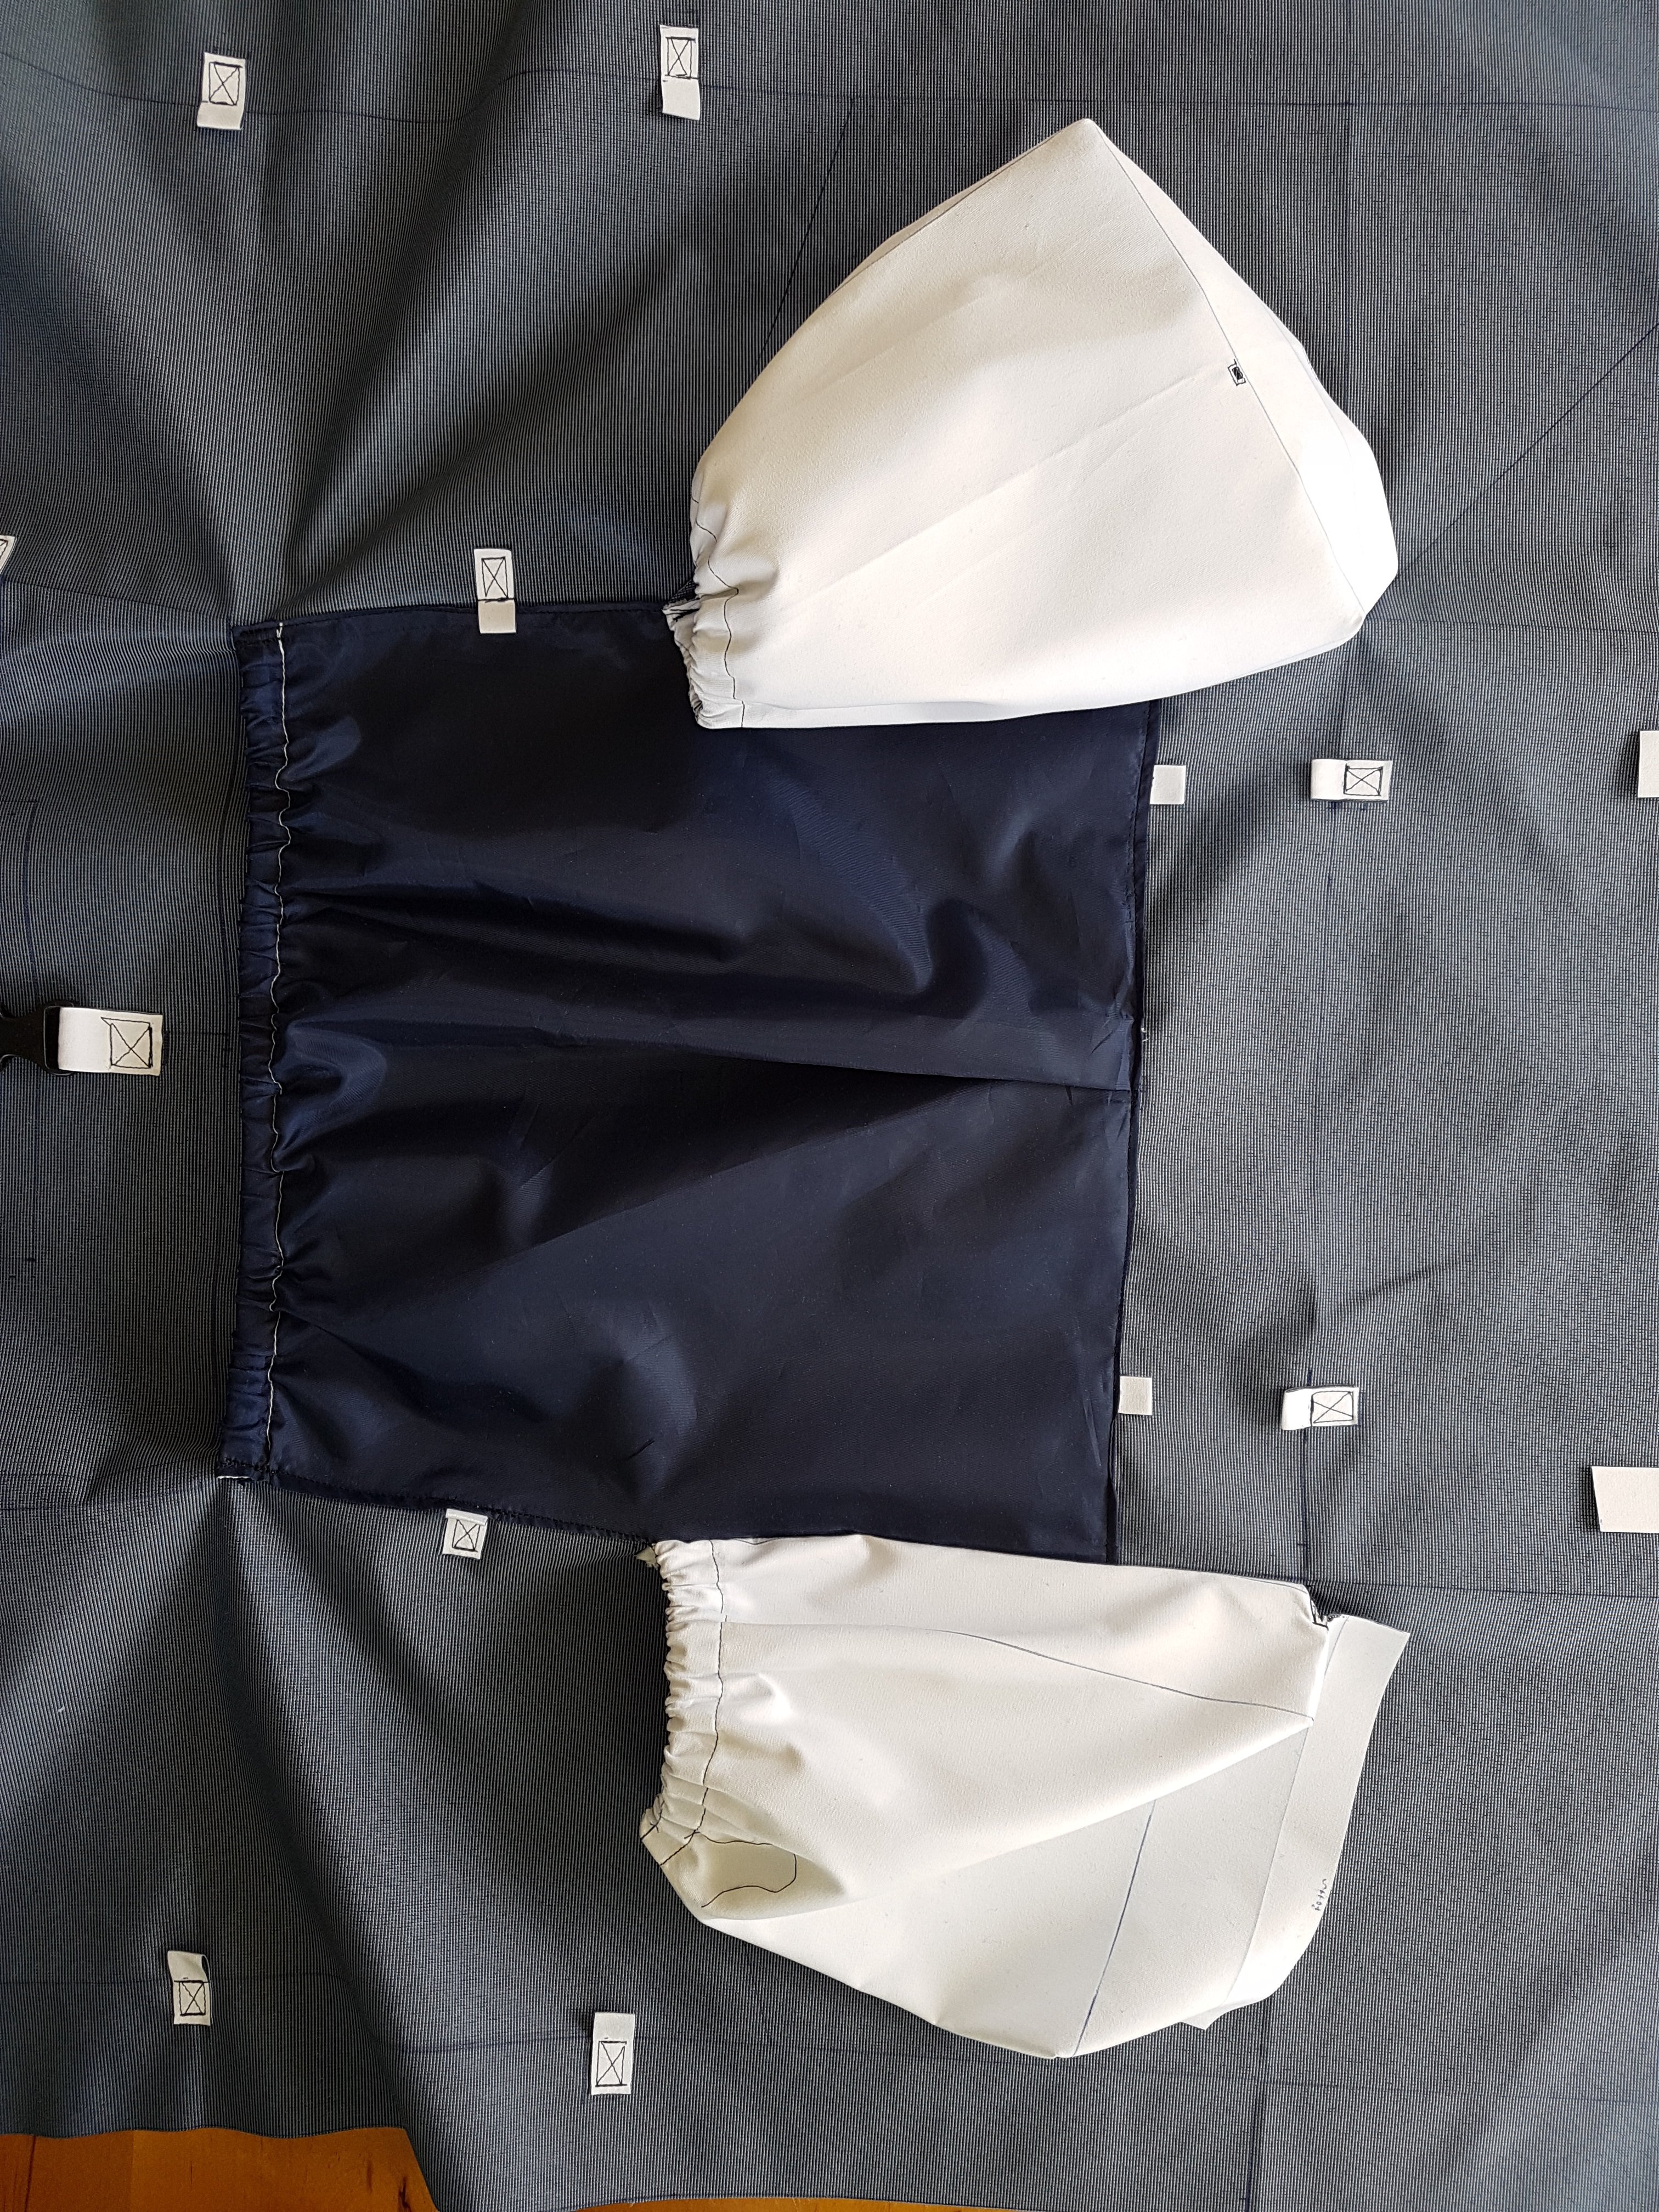
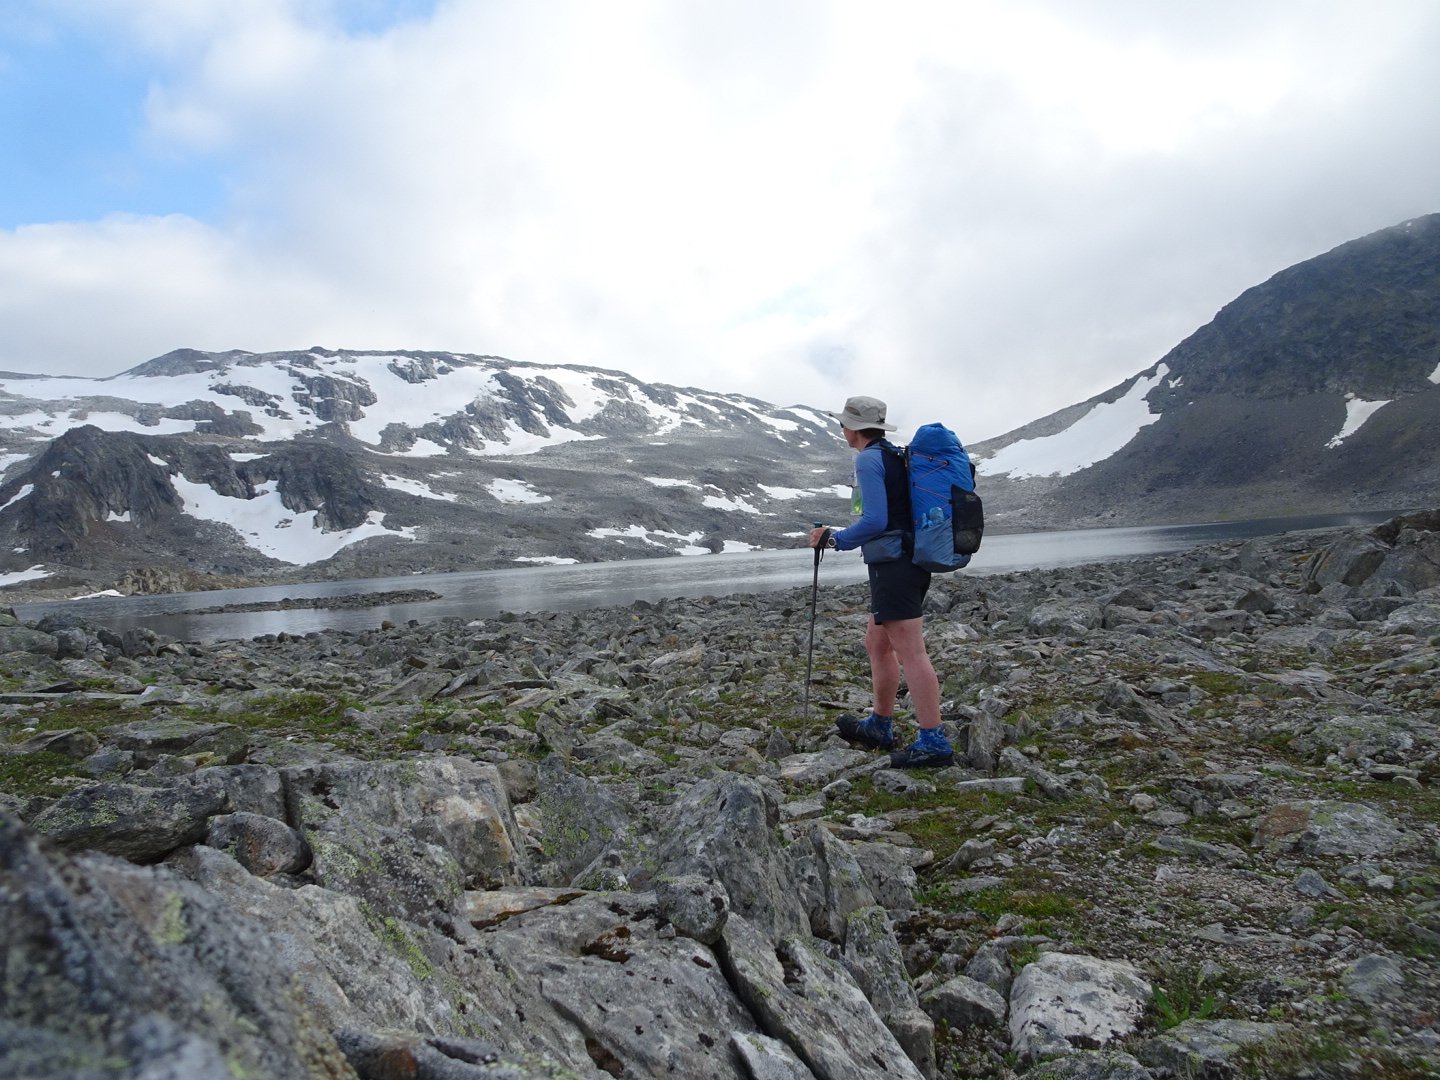
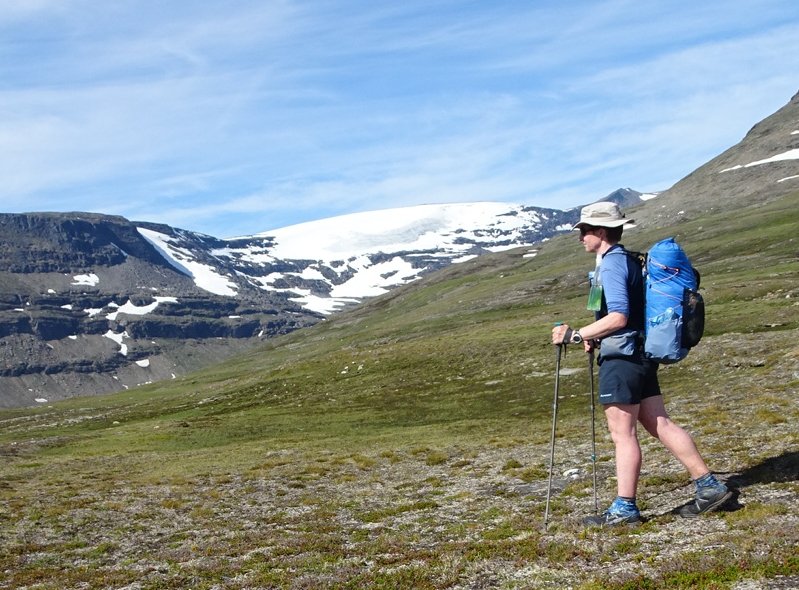
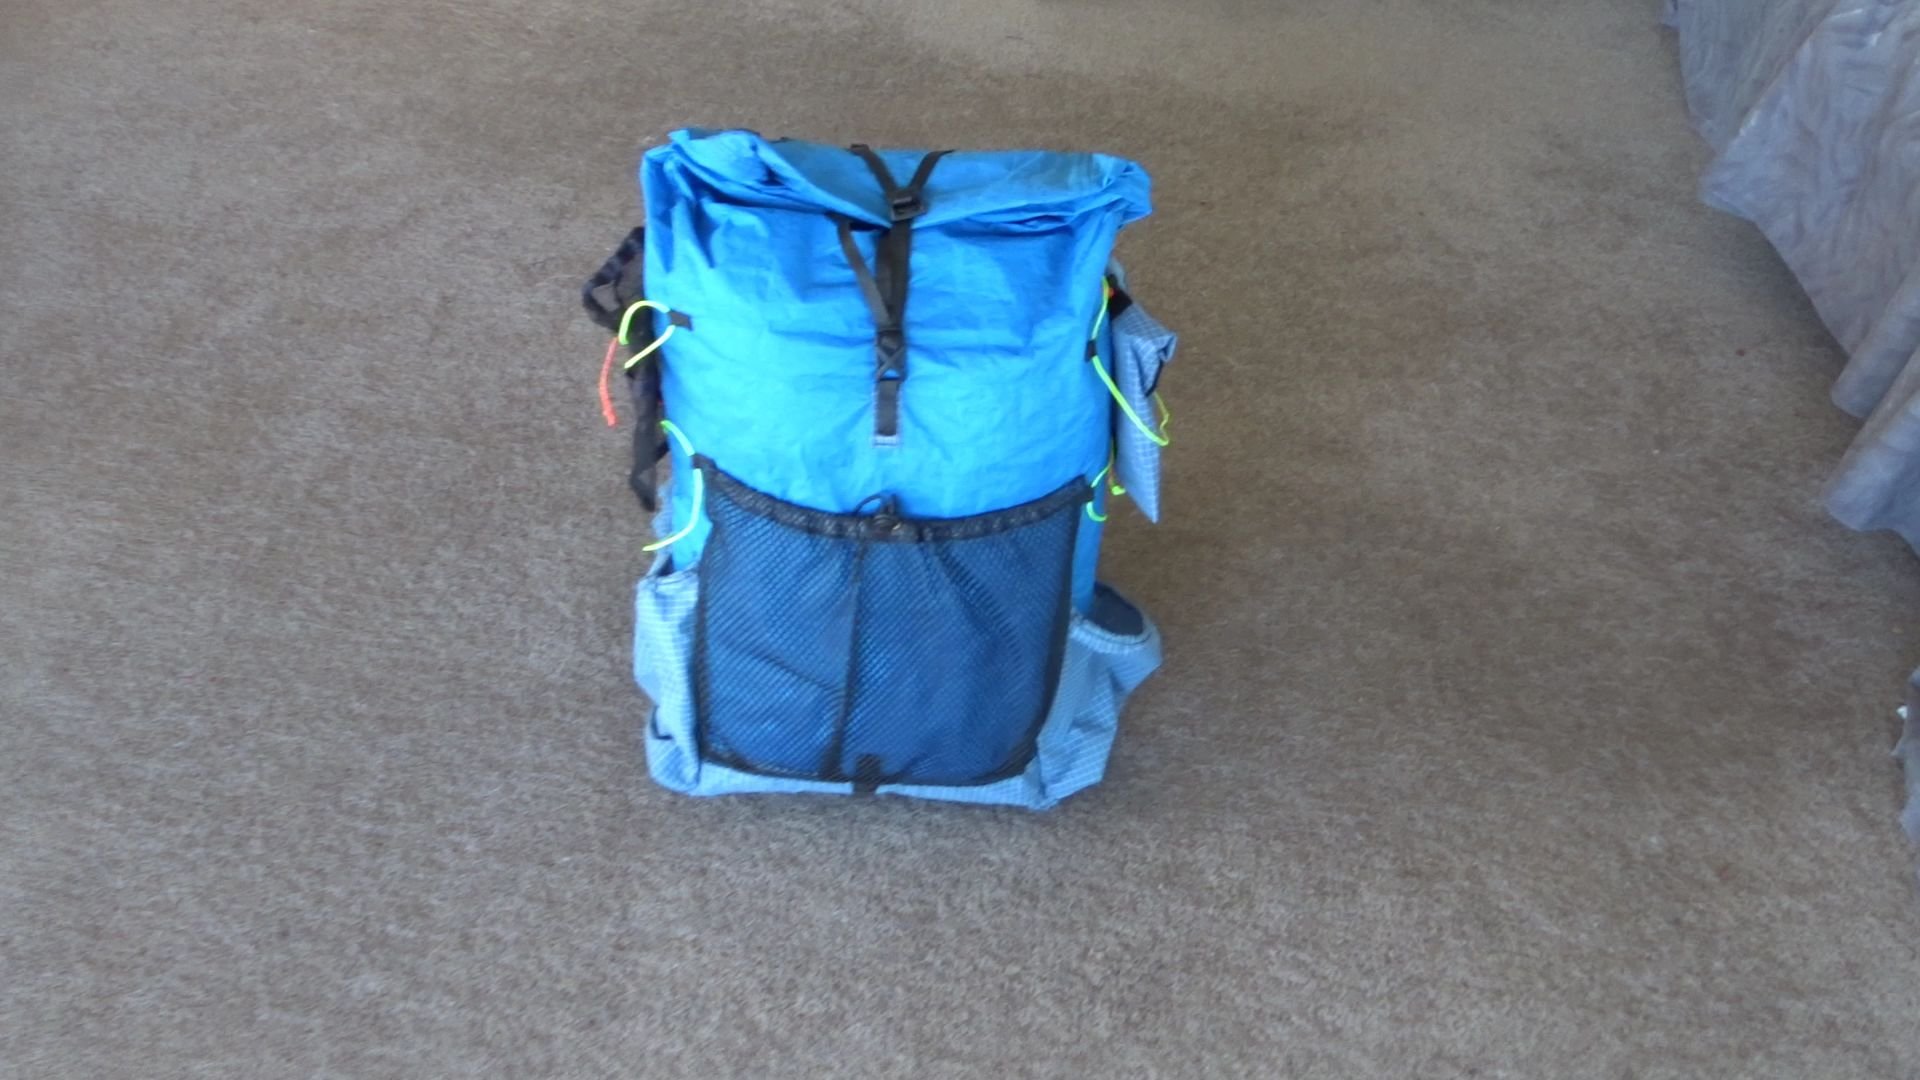
With my attempt for the Pacific Crest Trail (PCT) confirmed I decided to make another pack to fix the hipbelt issue and tailor it specifically for the PCT. The changes I wanted to make were; better weight transfer to hipbelt to cope with heavier loads, better hip belt attachment to pack, more capacity to cope with bear can, longer pack closure strap, shorter pack stays, bigger side packets, ability to tighten top of front pouch, ability to add two removable pouches to the side of the pack, ability to attach ice axe and microspikes.
I redid the pack plans and sewed it together in a couple of days
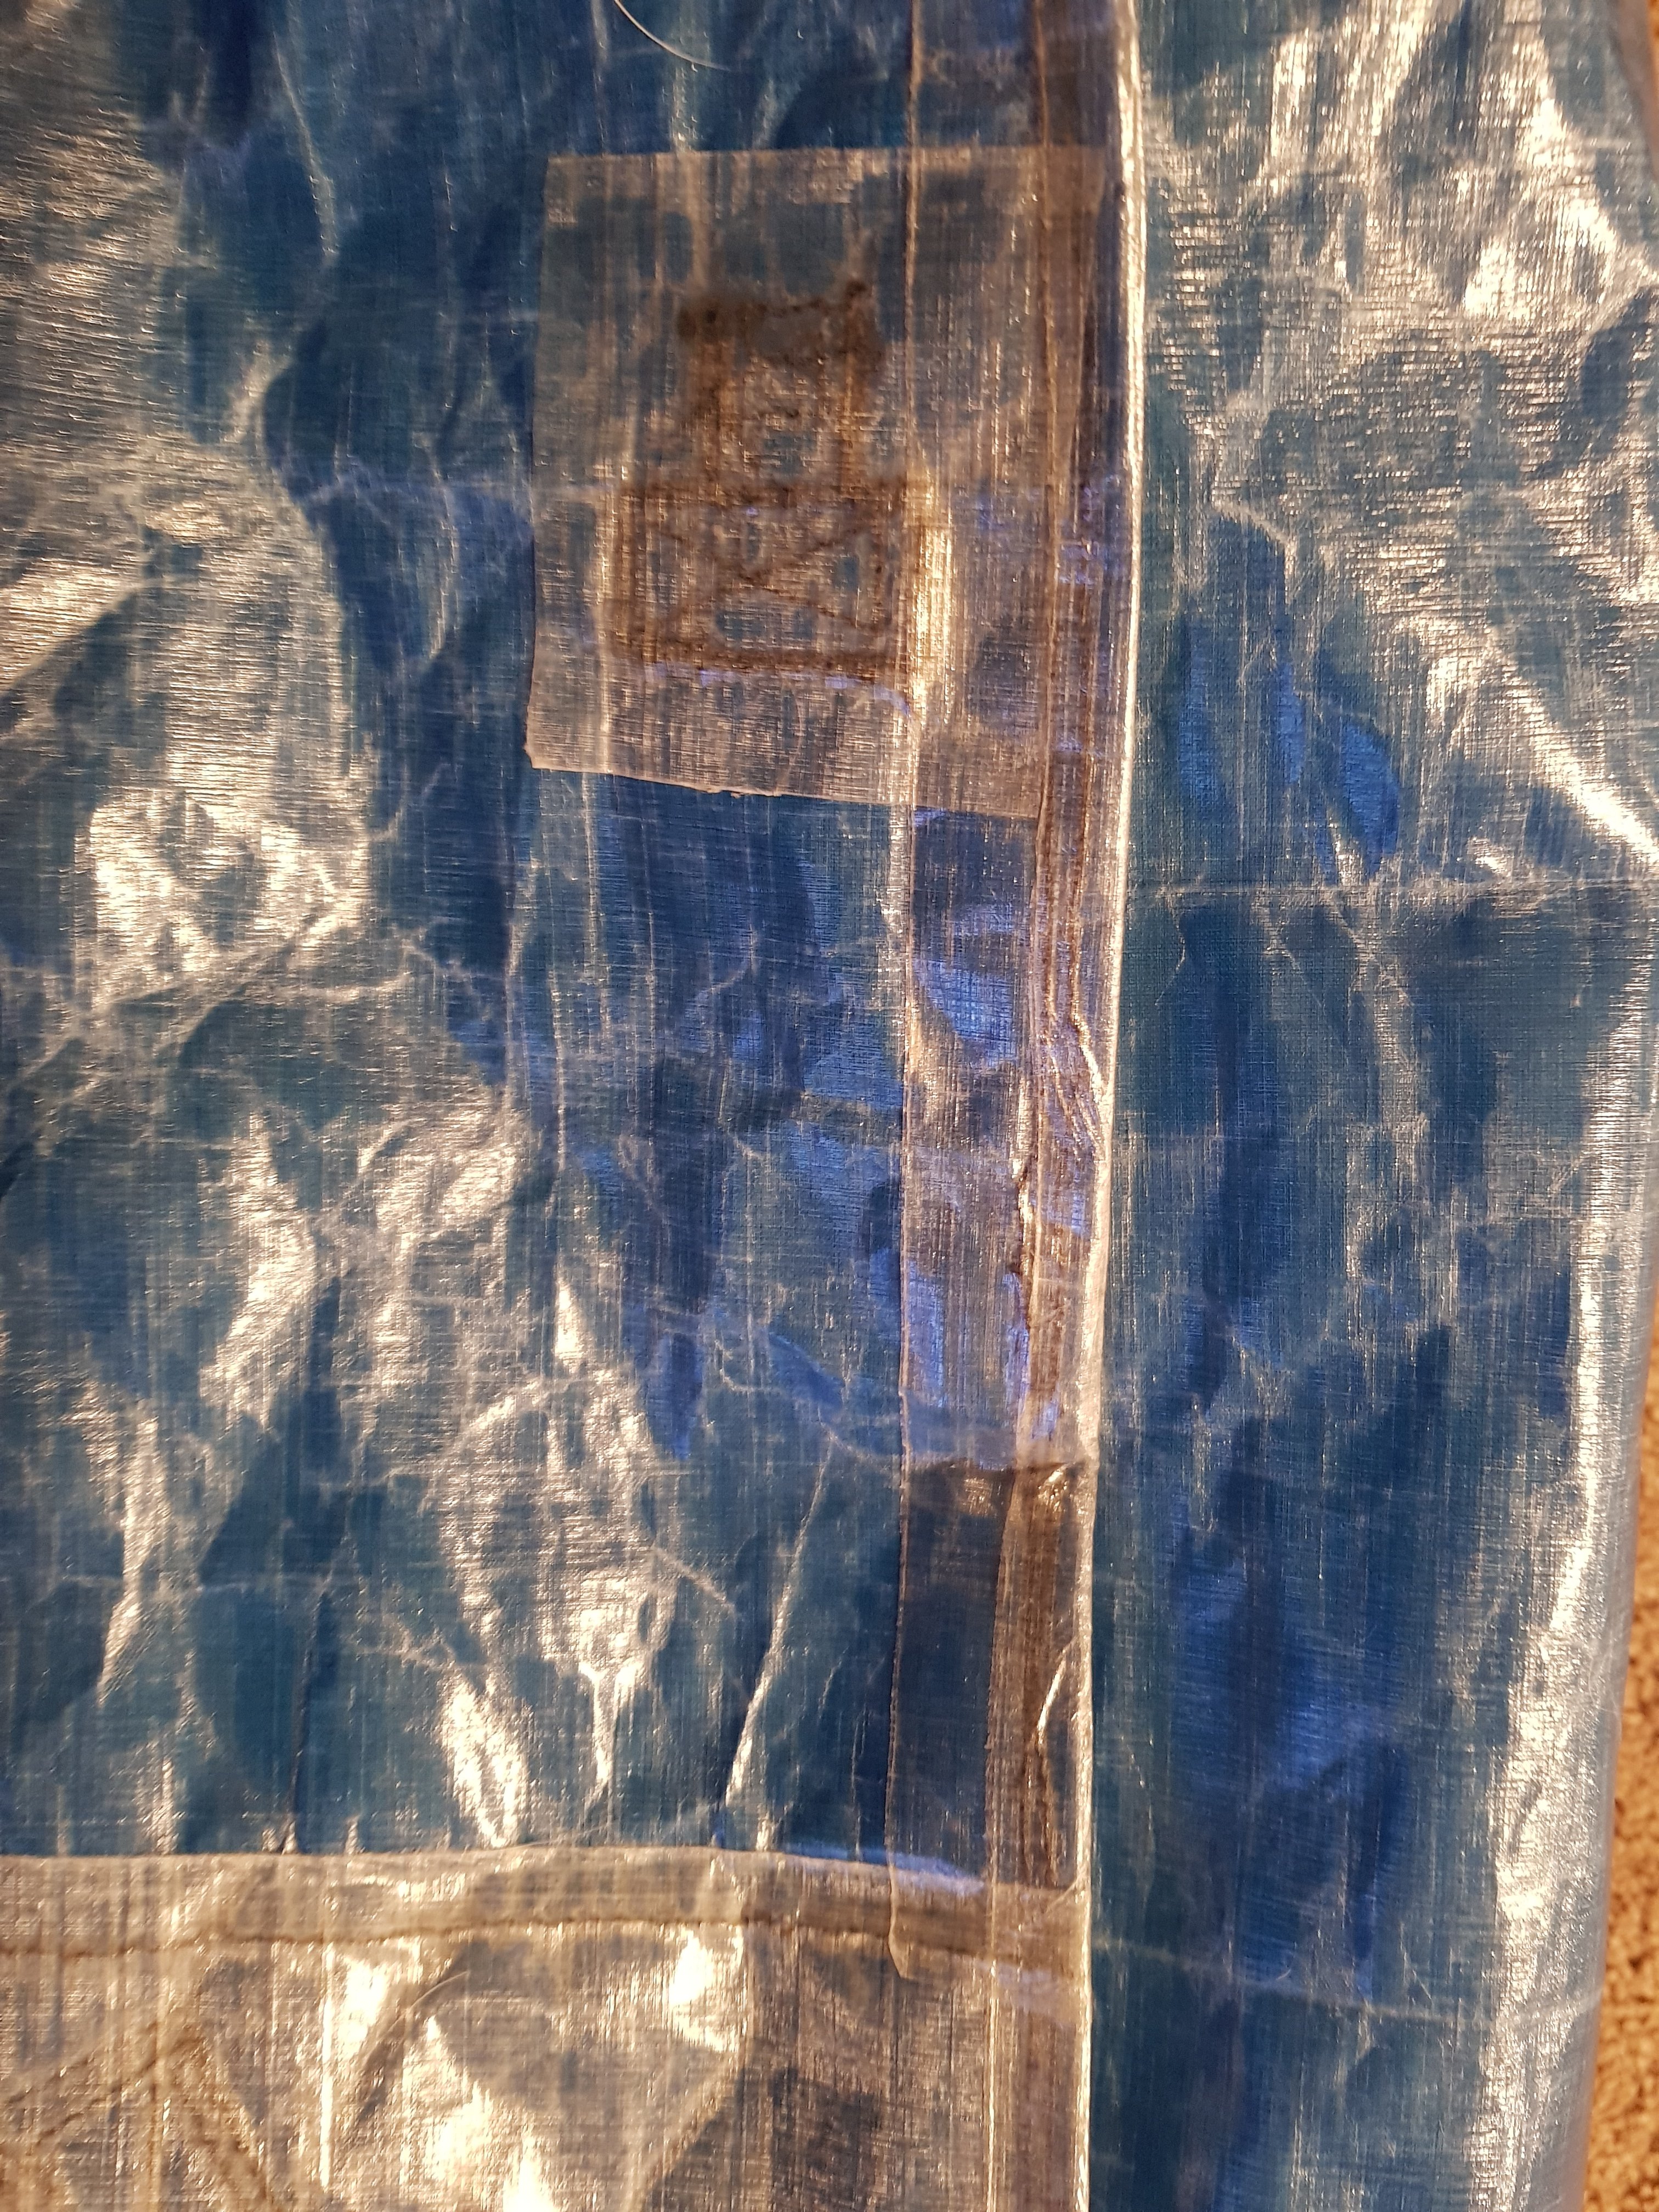
This time I did more vigorous testing with a couple of tough 3-4 day hikes. As a result I added a protective sleeve for the bottom of the shoulder strap and replaced the DCF tape inside where the seal had leaked.


I sprayed the pack with a high pressure showerhead and then placed it in a bath and rigourously moved it around to test the waterproofing.
The pack is now ready to hike 4,265 km (2,650 miles).
Visits: 1667
How cool! (And good luck on your PCT hike!)
Thanks Evelyn
Awesome job on the pack. My daughter and I are following your trip. Are you concerned about snow on the passes this year?
Thanks. No I am not concerned about the passes. I have mountaineering experience and will have Ice Axe and crampons